Transforming your living space into a dream haven doesn’t require expensive power tools or professional expertise. With creativity, patience, and simple hand tools, you can craft stunning decorative pieces that reflect your personality and style while staying within budget.
The beauty of DIY home decor lies in its accessibility and personal touch. Whether you’re furnishing your first apartment, refreshing a tired room, or simply exploring your creative side, these power-tool-free projects will empower you to create beautiful, functional pieces that make your space uniquely yours.
🎨 Why Choose Power-Tool-Free DIY Projects?
Before diving into specific tutorials, it’s worth understanding why working without power tools can actually be advantageous. Many people feel intimidated by heavy machinery, and the noise, dust, and potential safety concerns can make DIY projects seem inaccessible.
Hand-crafted projects offer a meditative quality that power tools cannot replicate. The slower pace allows you to connect more deeply with your materials, make adjustments as you go, and develop skills that have been practiced for centuries. Additionally, working without power tools is quieter, making it apartment-friendly and perfect for late-night creative sessions.
Budget considerations also come into play. Quality power tools represent a significant investment, whereas basic hand tools like hammers, scissors, glue guns, and paintbrushes are affordable and versatile. You’ll save money while still achieving professional-looking results.
Essential Tools and Materials for Your DIY Journey
Before starting any project, stock your creative arsenal with these fundamental items. None require electricity, yet together they unlock countless decorating possibilities.
Basic Hand Tools You’ll Need
- Sharp scissors and craft knives for precise cutting
- Hammer and assorted nails for hanging and assembly
- Screwdriver set for furniture assembly and hardware installation
- Measuring tape and ruler for accuracy
- Pencils and markers for planning and marking
- Sandpaper in various grits for smoothing surfaces
- Paintbrushes in different sizes
- Hot glue gun (battery-operated or traditional with minimal power use)
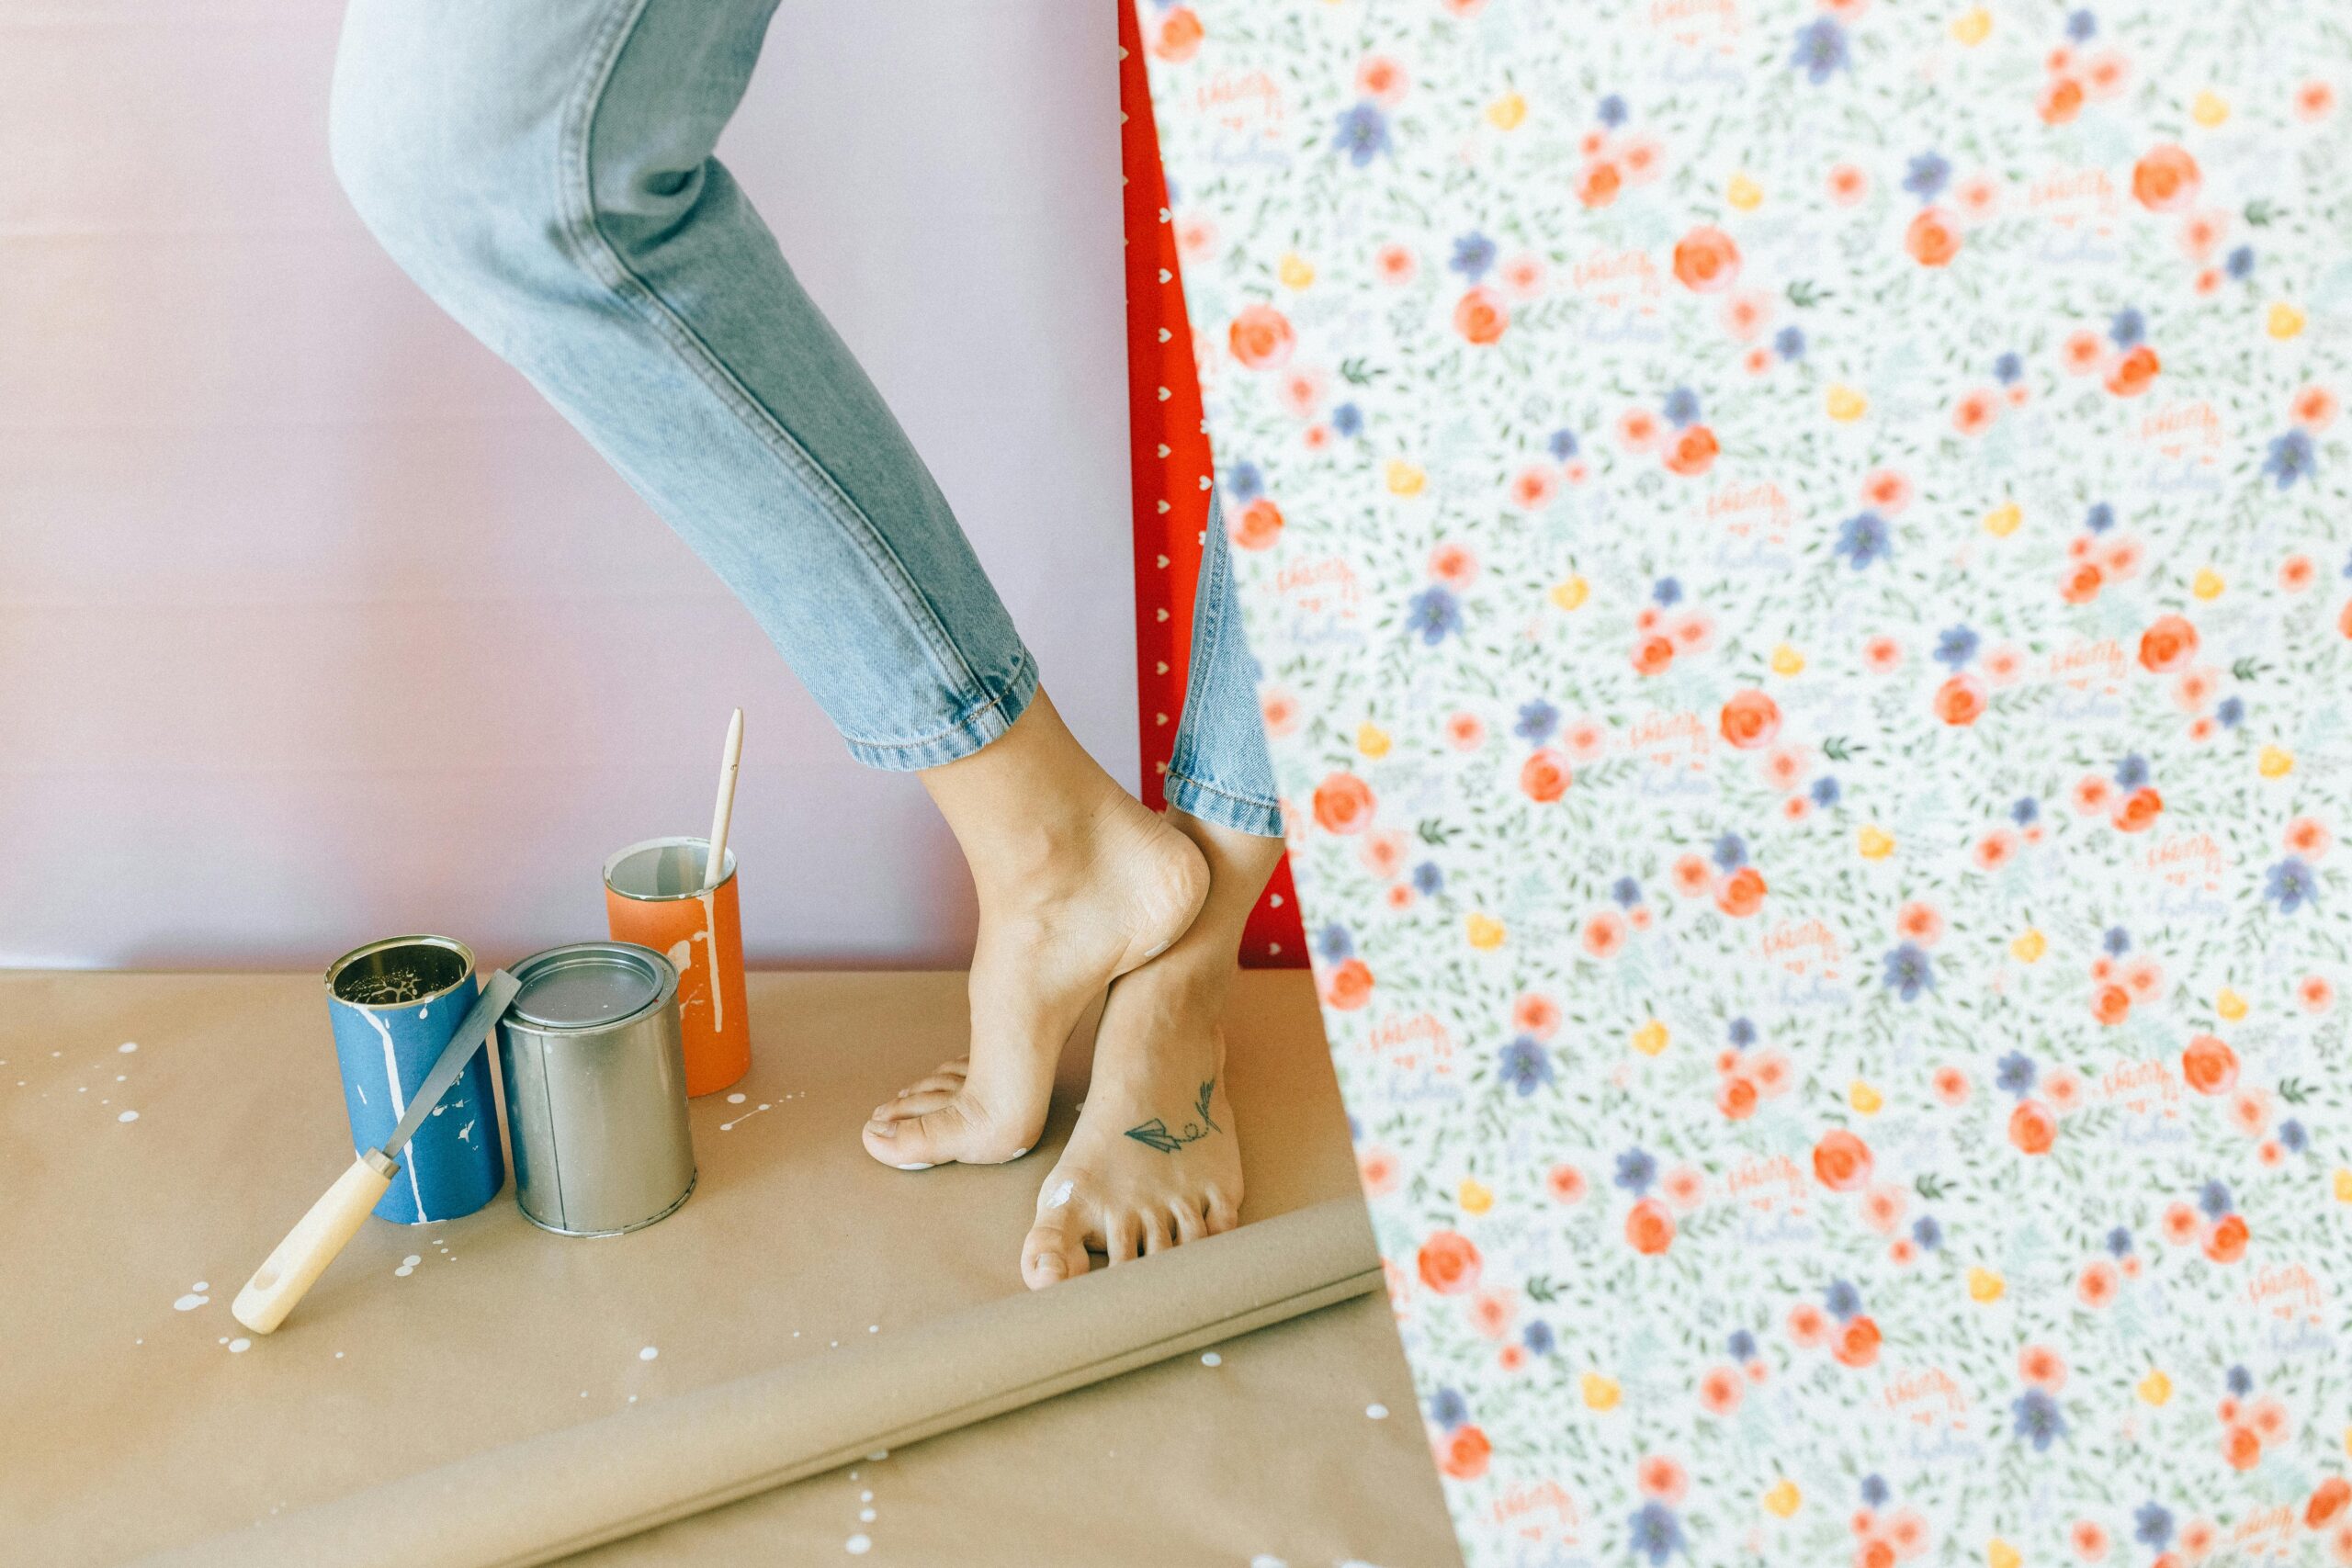
Materials to Keep Stocked
Building a collection of versatile materials means you’ll always be ready when inspiration strikes. Consider keeping fabric scraps, wooden crates, glass jars, old frames, rope, twine, paint samples, wallpaper remnants, and decorative paper on hand. Thrift stores and garage sales are treasure troves for finding affordable materials with character.
✨ Stunning Wall Art Without Power Tools
Empty walls can make even the most beautiful room feel incomplete. These projects will help you create gallery-worthy pieces without any power equipment.
Fabric Wall Hangings
Textile art adds warmth, texture, and visual interest to any space. Start by selecting fabric in colors and patterns that complement your existing decor. Cut the fabric into your desired shape—rectangular tapestries work beautifully, as do geometric designs.
Create a simple hanging mechanism using a wooden dowel or branch. Fold the top edge of your fabric over the dowel and secure it with fabric glue or hand-stitching. Add decorative elements like tassels, fringe, or embroidery to personalize your creation. Attach twine or leather cord to the dowel ends for hanging.
For added dimension, layer multiple fabric pieces or incorporate elements like dried flowers, beads, or macramé details. The beauty of fabric art is its flexibility—change it seasonally or whenever you desire a fresh look.
Paper Cut Art and Collages
Paper crafting offers endless possibilities for wall decor. Create intricate paper cut designs using sharp craft knives and decorative paper. Print or draw your design template, place it over your chosen paper, and carefully cut along the lines. Frame your finished piece for an elegant, personalized artwork.
Collages allow you to combine photographs, magazine clippings, postcards, and decorative papers into cohesive artistic statements. Arrange elements on a backing board until you’re satisfied with the composition, then adhere them with glue. This technique works beautifully for creating vision boards, travel memories, or abstract compositions.
Natural Element Wall Displays
Bring the outdoors inside by creating wall art from natural materials. Press flowers and leaves between heavy books, then arrange them in floating frames or under glass. Create wreaths from grapevine, twigs, or eucalyptus without needing any power tools—just wire, ribbon, and hot glue.
Driftwood pieces make excellent wall sculptures. Sand them smooth by hand, arrange them in interesting configurations, and join them using strong adhesive or wire. These organic pieces add coastal charm and architectural interest to any room.
🪑 Furniture Upgrades Using Simple Techniques
You don’t need a workshop to transform tired furniture into statement pieces. These techniques breathe new life into existing items or turn thrift store finds into treasures.
Paint and Pattern Transformations
Paint is the most powerful tool in any DIY decorator’s arsenal. Clean your furniture piece thoroughly, lightly sand rough areas by hand, and apply primer if painting over dark colors or glossy finishes. Choose quality paint in your desired finish—matte for a modern look, satin for durability, or high-gloss for drama.
Create visual interest with patterns. Use painter’s tape to create stripes, geometric designs, or color-blocking effects. Stencils allow you to add intricate details without artistic skill. Consider ombré effects by blending paint colors gradually, or try the trendy two-tone look by painting legs and drawer fronts in contrasting colors.
Decoupage Magic
Decoupage transforms ordinary furniture into conversation pieces. This technique involves adhering decorative paper to surfaces using specialized glue or diluted craft glue. Vintage maps, sheet music, botanical prints, or decorative napkins all work beautifully.
Prepare your surface by cleaning and lightly sanding. Cut or tear your paper into pieces, apply glue to the furniture surface, place your paper, then seal with additional glue on top. Smooth out bubbles with your hands or a soft cloth. Once dry, apply several coats of clear varnish for protection, sanding lightly between coats.
Hardware and Handle Updates
Sometimes the smallest changes create the biggest impact. Replacing drawer pulls, cabinet handles, and furniture legs instantly modernizes dated pieces. This requires only a screwdriver and can be completed in minutes.
Visit hardware stores or browse online for unique options—brass for warmth, matte black for modern sophistication, ceramic knobs for cottage charm, or leather pulls for Scandinavian style. Mix and match for eclectic appeal or keep everything uniform for a cohesive look.
💡 Lighting Solutions That Shine
Creative lighting transforms ambiance without requiring electrical expertise. These projects focus on decorative elements rather than wiring modifications.
Lampshade Makeovers
Plain lampshades become designer pieces with simple additions. Wrap shades with ribbon, rope, or fabric strips, securing with hot glue. Add trim, fringe, or pom-poms along the bottom edge. Paint designs directly onto fabric shades using textile paint, or attach decorative elements like buttons, beads, or paper cutouts.
For a bohemian look, hand-stitch colorful embroidery thread in geometric patterns across a light-colored shade. The light shining through creates beautiful shadow patterns on surrounding walls.
Mason Jar Lanterns
Transform ordinary mason jars into charming light fixtures. Paint the exterior with translucent glass paint for a colored glow, or leave clear and add decorative elements inside. Wrap wire around the jar neck to create a hanging mechanism, or place battery-operated fairy lights inside for magical illumination.
Group multiple jars in varying sizes for dramatic effect. These work beautifully as outdoor patio lighting, bedroom accent lights, or romantic dinner table centerpieces.
Candle Display Arrangements
Candles provide ambiance that electric lights cannot replicate. Create stunning displays using found objects as holders—wine bottles, vintage teacups, wooden blocks, or decorative plates. Arrange candles at varying heights on a tray or shallow bowl filled with decorative stones, sand, or seasonal elements like pinecones or shells.
🌿 Textile Projects for Comfort and Style
Soft furnishings add comfort, color, and personality. These no-sew and simple-sewing projects require only basic hand-stitching skills or clever alternatives.
No-Sew Pillow Covers
Refresh your space with new pillow covers without touching a sewing machine. Cut fabric slightly larger than your pillow form. Place the pillow in the center, fold fabric edges over like wrapping a gift, and secure with fabric glue or iron-on hem tape. Alternatively, use fabric tied in knots at the corners for a casual, textured look.
Another technique involves cutting two fabric squares, placing them wrong-sides together with the pillow form inside, then tying the edges together with strips of fabric or ribbon at regular intervals, creating a decorative fringed edge.
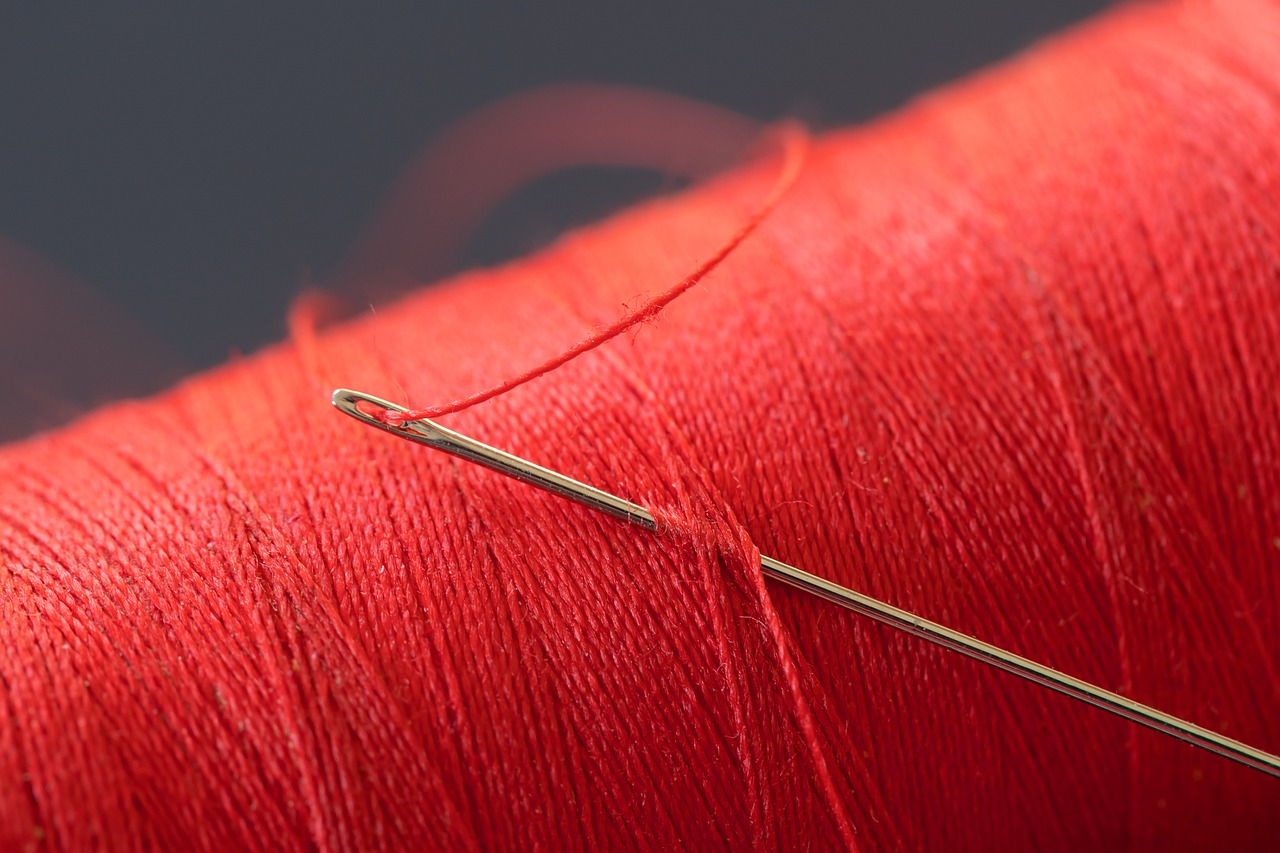
Hand-Stitched Table Runners
Even basic hand-stitching skills allow you to create beautiful table linens. Choose fabric that coordinates with your dining area, cut to your desired dimensions, and hem the edges using a simple running stitch or blanket stitch. Add decorative elements like hand-embroidered corners, appliqué shapes, or fabric paint designs.
Macramé Plant Hangers
Macramé has made a major comeback in home decor. This ancient knotting technique requires only cord and patience—no tools beyond your hands. Start with basic knots like the square knot and half-hitch, then progress to more complex patterns.
Plant hangers work beautifully in corners, near windows, or grouped at varying heights. Choose cotton cord for a soft, traditional look, or jute for rustic charm. Numerous free patterns and video tutorials make learning accessible for complete beginners.
📦 Storage Solutions That Double as Decor
Functional storage doesn’t have to be boring. These projects organize your space while enhancing its aesthetic appeal.
Decorated Storage Boxes
Plain cardboard or wooden boxes become stylish storage when wrapped in fabric, wallpaper, or decorative paper. Measure all sides, cut your covering material, and attach with craft glue or double-sided tape. Add labels using chalkboard paint, decorative tags, or printed labels for both function and style.
Stack coordinating boxes as sculptural storage, or slide them under beds, into closets, or onto shelving units. This technique works beautifully for organizing craft supplies, office materials, seasonal decorations, or children’s toys.
Woven Basket Updates
Plain wicker or seagrass baskets gain personality with simple additions. Paint portions in bold colors, leaving natural material showing for contrast. Wrap handles with leather cord, rope, or fabric strips. Add fabric liners by cutting material to size, hemming edges, and tucking inside.
Pegboard Organization Systems
Pegboards provide flexible, customizable storage for any room. Paint your pegboard in a color that complements your space, then hang using picture hanging hardware. Add hooks, small shelves, and containers to hold everything from kitchen utensils to craft supplies to jewelry.
The beauty of pegboards lies in their adaptability—rearrange hooks and accessories as your needs change, creating a functional yet visually appealing organizational system.
🌸 Bringing Nature Indoors
Incorporating natural elements creates calming, organic spaces that connect us to the outdoors.
Terrariums and Miniature Gardens
Glass containers become living art when planted with succulents, air plants, or moss. Layer pebbles for drainage, add activated charcoal to prevent odors, then add soil and your chosen plants. Arrange small stones, decorative sand, or miniature figurines to create scenes.
Terrariums require minimal maintenance and bring life to desks, shelves, or windowsills. Choose open containers for succulents or closed ones for moisture-loving plants.
Dried Flower Arrangements
Preserved botanicals provide lasting beauty without the maintenance of fresh flowers. Hang fresh flowers upside down in a dark, dry space for several weeks to preserve them. Arrange dried flowers in vases, create wreaths, or press them for framed art.
Popular choices include eucalyptus, lavender, statice, baby’s breath, and pampas grass. These natural elements add texture, height, and organic beauty to any space.
Branch and Twig Decor
Collected branches become rustic decor elements. Remove bark if desired by soaking in water and peeling, then sand smooth by hand. Use branches as curtain rods, wall-mounted hooks, or sculptural vase fillers. Paint them metallic colors for modern glamour or leave natural for organic appeal.
🎯 Creating Cohesive Spaces
Individual projects shine brightest when they work together as part of a unified design vision. Consider your color palette, choosing three to five colors that appear throughout your space in varying proportions. Repeat materials and textures—if you have woven baskets in one area, incorporate similar textures elsewhere through macramé, jute, or natural fiber rugs.
Balance handmade elements with carefully chosen purchased items. Not everything needs to be DIY; sometimes a store-bought piece provides the perfect foundation for your handcrafted accents. The goal is creating a space that feels intentionally designed rather than randomly assembled.
Consider scale and proportion when placing your creations. Group small items in odd numbers for visual interest, vary heights when arranging objects, and leave negative space so individual pieces can breathe and be appreciated.
✂️ Making Your DIY Practice Sustainable
Sustainable decorating means making choices that benefit both your space and the environment. Source materials secondhand whenever possible—thrift stores, estate sales, and online marketplaces offer endless possibilities. Repurpose items you already own rather than buying new supplies.
Choose quality over quantity, creating fewer pieces that truly delight you rather than numerous projects that don’t quite satisfy. When purchasing new materials, research eco-friendly options like natural fibers, non-toxic paints, and sustainably harvested wood products.
Embrace imperfection as part of handmade charm. Small irregularities prove something was crafted with care rather than mass-produced. This mindset reduces waste from abandoned projects and helps you appreciate the unique character of handcrafted items.
🏡 Starting Your Creative Journey Today
The beauty of power-tool-free DIY projects is that you can start immediately with items you already have. Look around your home for pieces that could benefit from a refresh, materials waiting to be transformed, or empty spaces calling for personalization.
Begin with small projects that build confidence and skills. A painted picture frame or fabric-covered box provides immediate satisfaction and teaches techniques applicable to larger undertakings. As your comfort grows, tackle more ambitious projects knowing you have the skills and creativity to succeed.
Document your journey through photos, noting what worked well and what you might do differently next time. Join online communities where DIY enthusiasts share ideas, troubleshoot problems, and celebrate successes. The supportive DIY community offers endless inspiration and practical advice.
Remember that your home should reflect who you are and how you want to live. These power-tool-free projects empower you to create spaces that tell your story, showcase your creativity, and provide daily joy. Each handcrafted element adds personality that purchased decor cannot replicate, transforming your house into a true home that celebrates your unique style and creative spirit.