Thrift stores and secondhand shops are treasure troves waiting to be discovered. With a little creativity and some simple techniques, you can transform dated furniture and décor into stunning statement pieces that reflect your personal style while saving money and helping the environment.
The beauty of working with thrifted finds lies in their potential for reinvention. Each piece carries its own history and character, providing you with a blank canvas to create something truly unique. Whether you’re a seasoned DIY enthusiast or just starting your refinishing journey, painting and updating secondhand items offers endless possibilities for customization and creative expression.
🎨 Why Refinishing Thrifted Items Makes Perfect Sense
Breathing new life into preloved furniture and décor items offers numerous advantages beyond just aesthetics. Understanding these benefits can motivate you to start your own transformation projects and develop confidence in your refinishing abilities.
From an environmental perspective, refinishing reduces waste and decreases demand for new manufacturing. Each piece you save from the landfill represents resources conserved and carbon emissions avoided. Financially, thrifted items typically cost a fraction of new furniture prices, and even after investing in paint and supplies, your total expenses remain remarkably low compared to retail alternatives.
The creative satisfaction of transforming something worn into something beautiful provides immeasurable value. You’ll develop new skills, gain confidence in your abilities, and create conversation pieces that guests will admire. Plus, refinished thrift store finds often possess superior construction quality compared to many mass-produced modern alternatives.
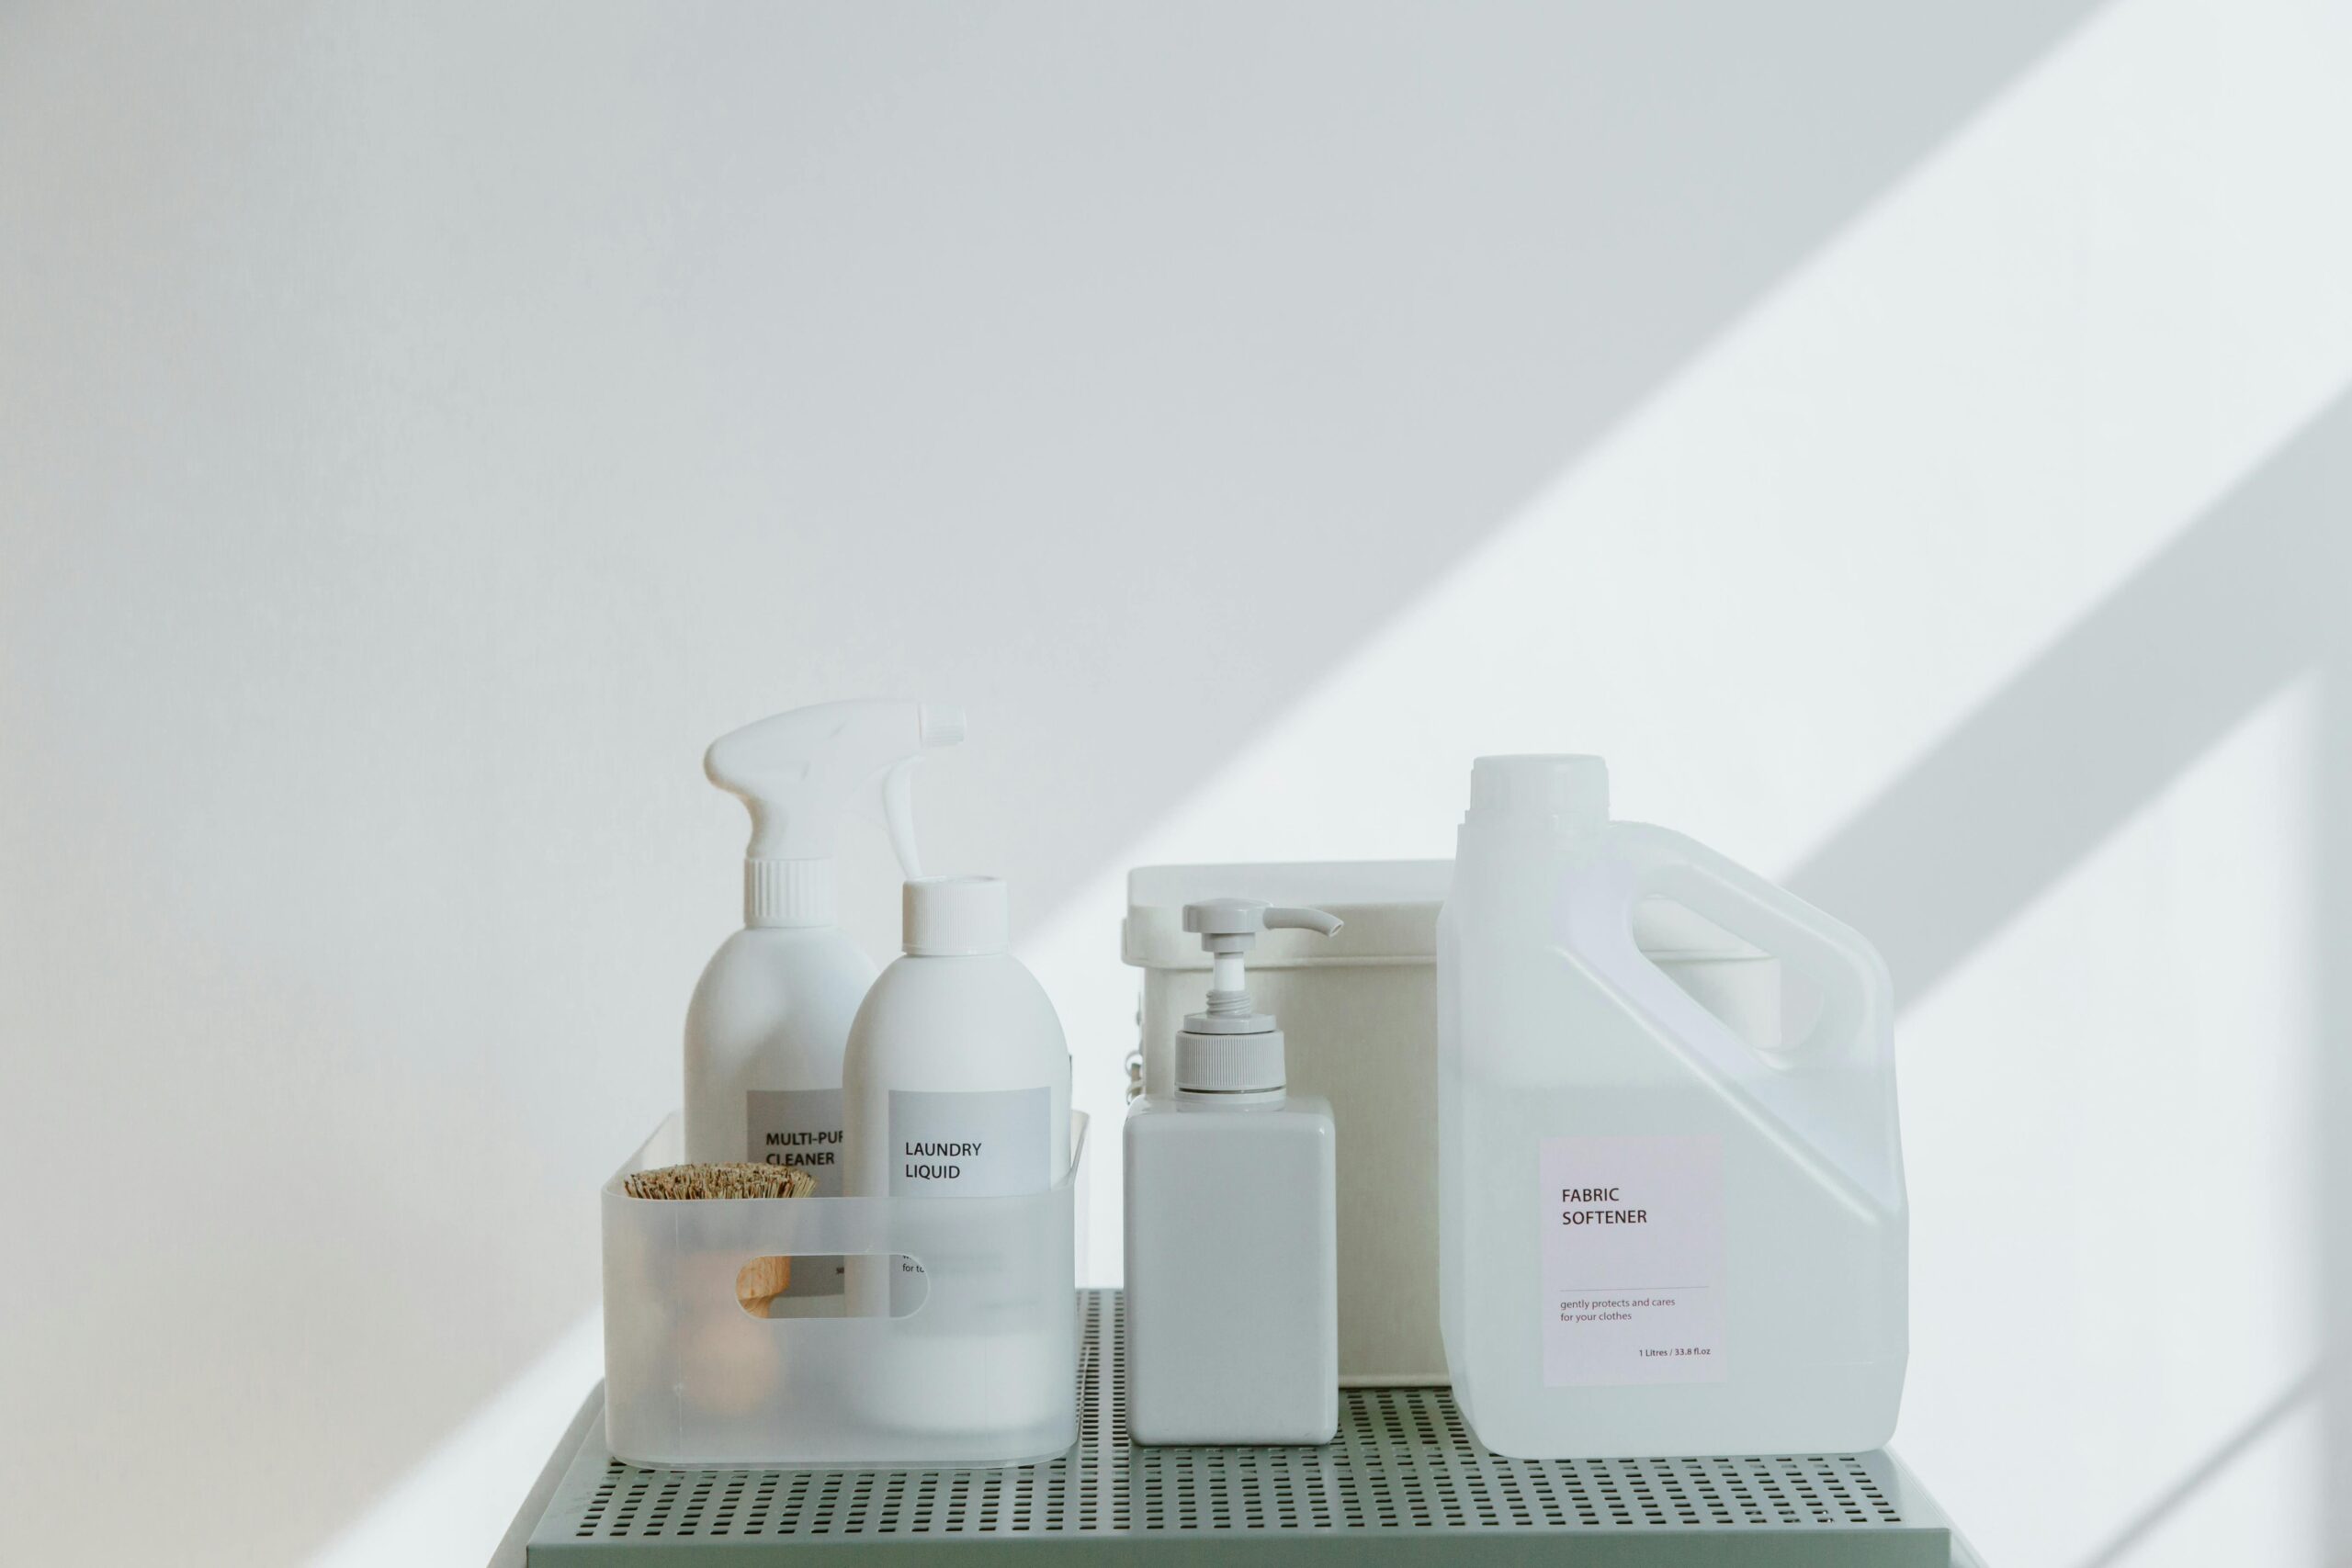
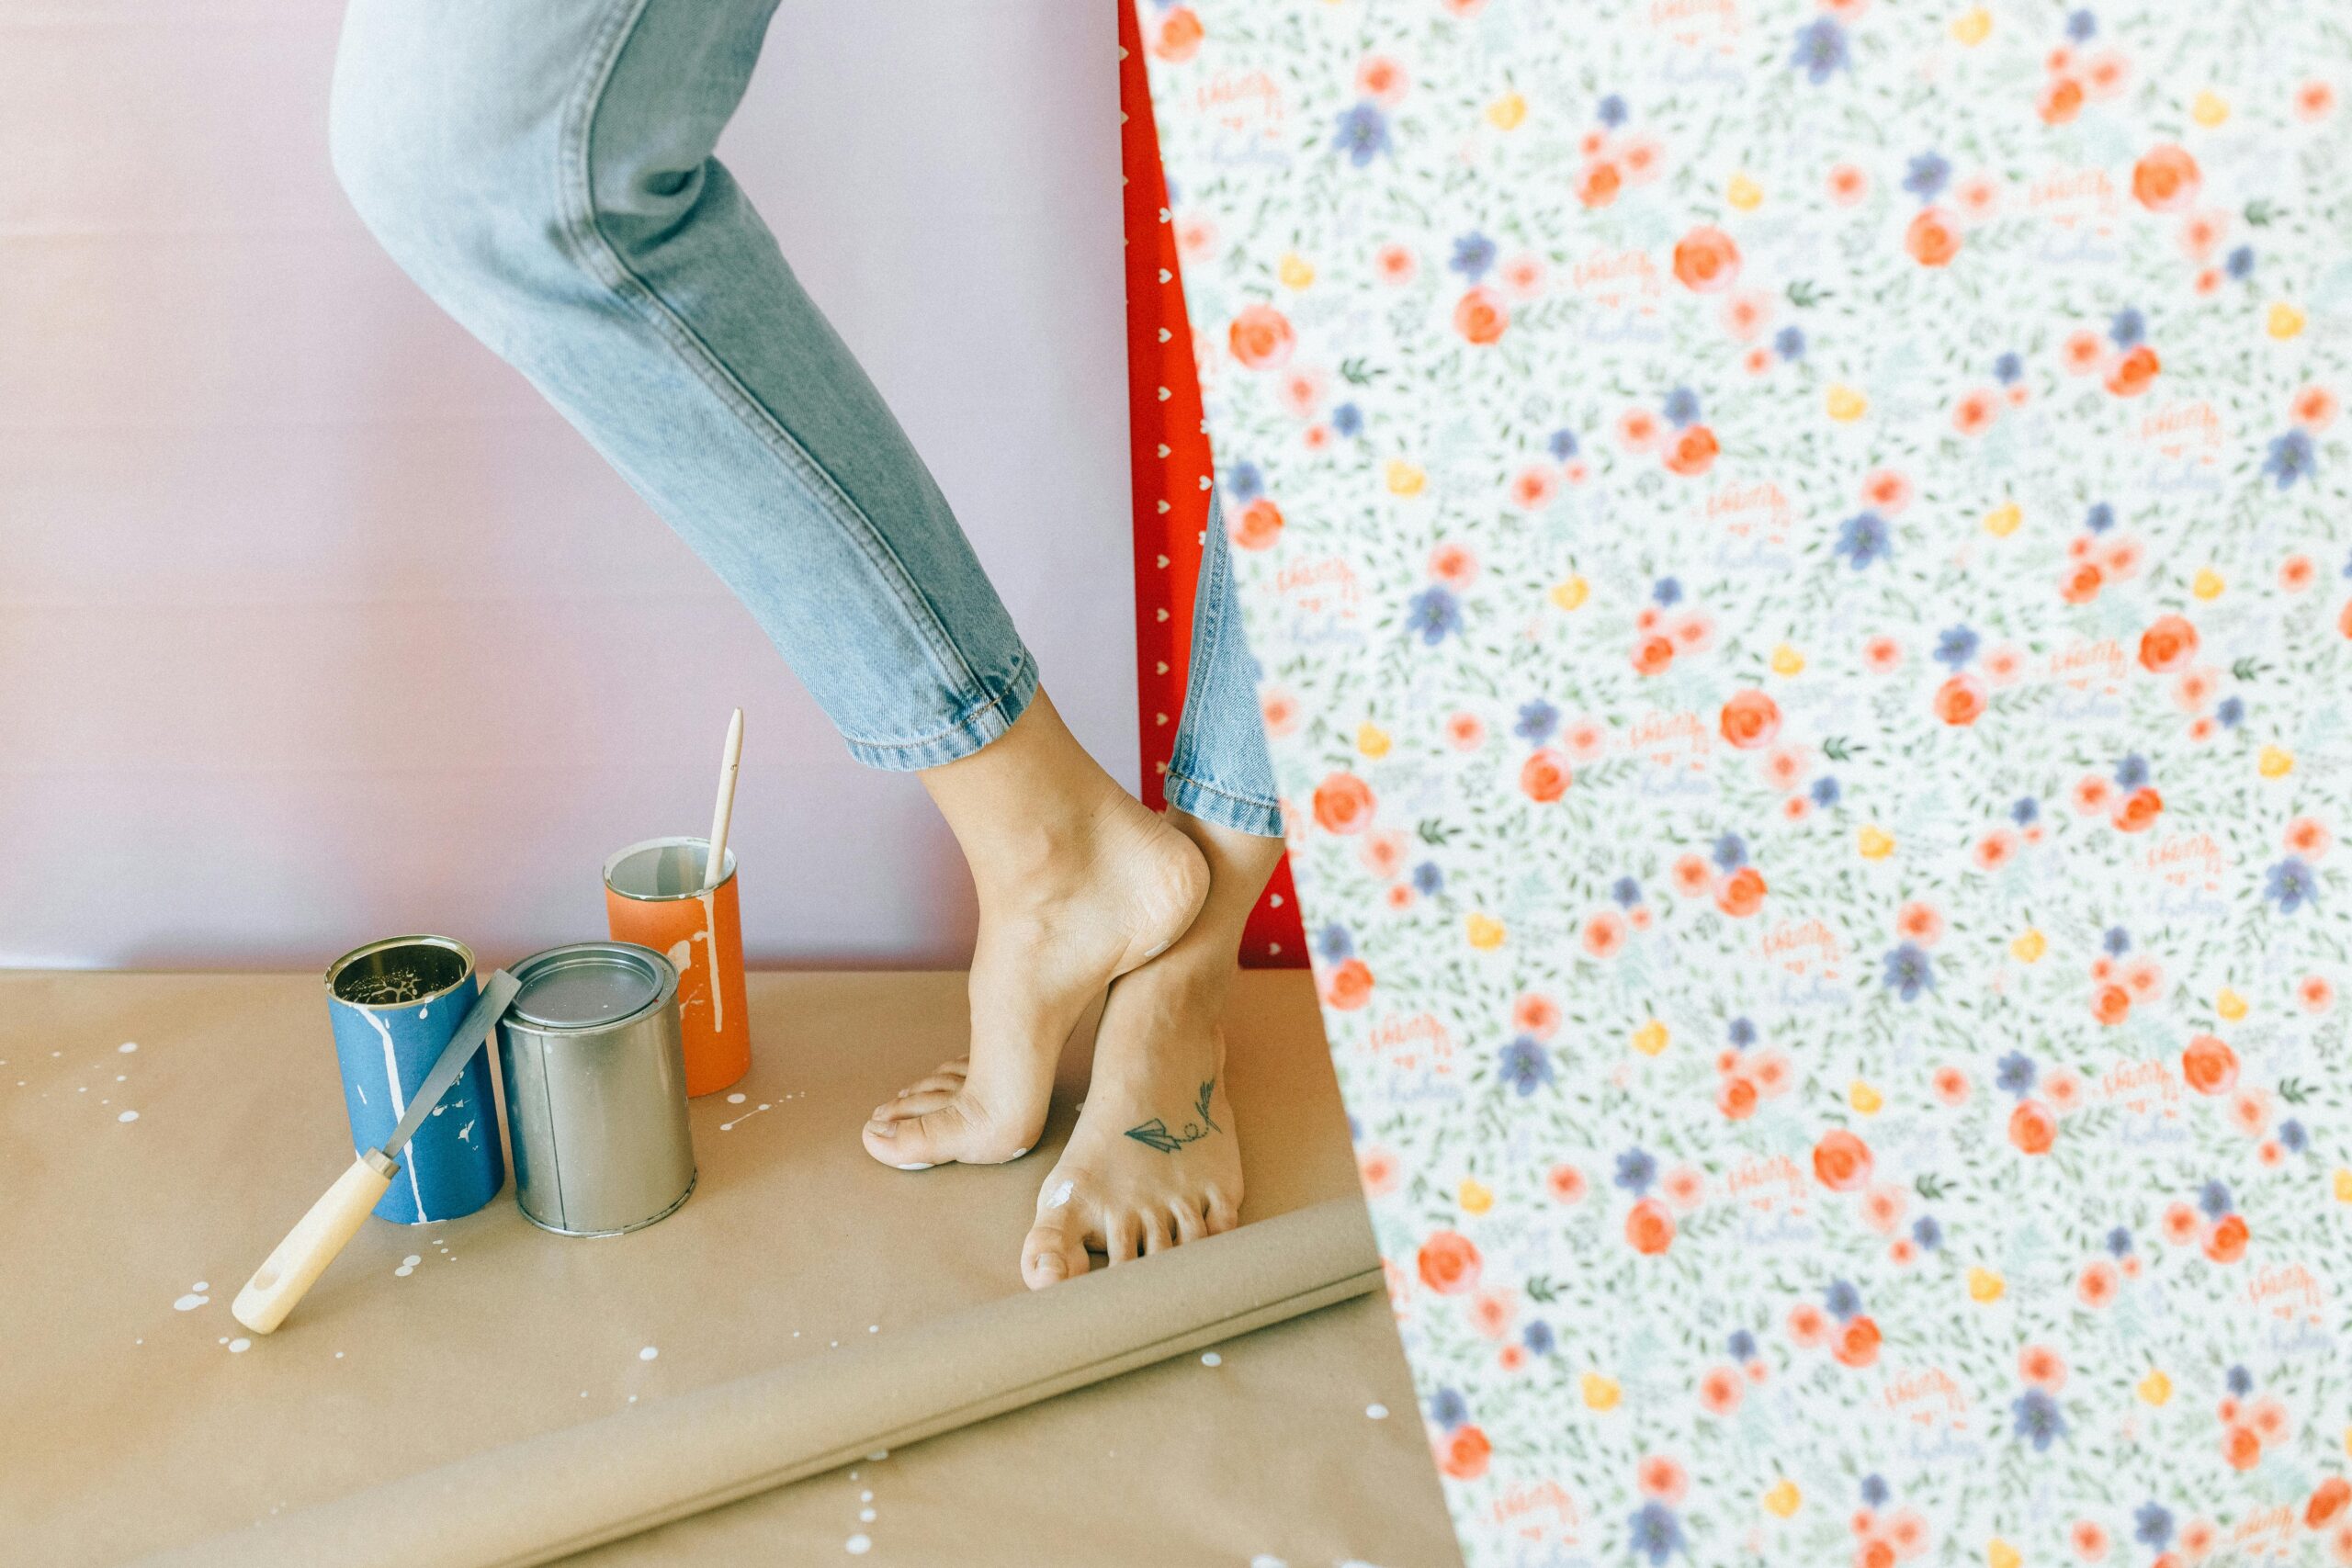
Essential Supplies for Your Refinishing Projects
Before diving into your first project, gathering the right supplies ensures smooth sailing throughout the transformation process. Having everything on hand prevents frustrating mid-project trips to the hardware store and helps you work more efficiently.
Basic Painting Essentials
Start with quality brushes in various sizes, including angled brushes for detailed work and larger flat brushes for broad surfaces. Foam rollers work wonderfully for smooth finishes on flat areas, while small artist brushes help with intricate details and touch-ups.
Paint selection depends on your project and desired finish. Chalk paint has become incredibly popular for furniture refinishing because it requires minimal prep work and provides excellent coverage. Latex paint offers durability and easy cleanup, while milk paint creates authentic vintage finishes with beautiful depth.
Preparation and Finishing Supplies
- Sandpaper in various grits (80, 120, 220) for surface preparation and smoothing between coats
- Deglosser or TSP cleaner for removing dirt, grease, and preparing glossy surfaces
- Wood filler for repairing cracks, dents, and imperfections
- Primer appropriate for your surface material and paint type
- Protective topcoats like polyurethane, wax, or polycrylic for durability
- Drop cloths or plastic sheeting to protect your work area
- Painter’s tape for crisp lines and protecting hardware
- Tack cloth for removing dust before painting
Selecting the Perfect Pieces to Transform
Not every thrift store find deserves your time and effort. Learning to identify promising candidates saves you from investing resources into pieces with limited potential or excessive damage requiring professional restoration.
Look for solid wood construction rather than particle board, which doesn’t refinish well and may crumble when sanded. Check joints and connections for stability—wobbly furniture can sometimes be repaired, but extensive structural damage may not be worth the effort. Minor cosmetic issues like scratches, dated finishes, or outdated hardware actually represent ideal refinishing opportunities.
Consider the piece’s bones and basic shape. Even if the current finish looks terrible, strong lines and good proportions indicate excellent potential. Vintage pieces often feature superior craftsmanship and interesting details that modern furniture lacks, making them particularly valuable refinishing candidates.
Step-by-Step Surface Preparation Techniques
Proper preparation determines your final results more than any other factor. Rushing through prep work inevitably leads to disappointing outcomes, while thorough preparation ensures professional-looking finishes that last for years.
Cleaning Your Thrifted Find
Begin by thoroughly cleaning your piece to remove decades of accumulated dirt, grease, and grime. Mix warm water with a degreasing dish soap or TSP cleaner, and scrub all surfaces with a sponge or soft brush. Pay special attention to crevices, carved details, and areas around hardware where buildup concentrates.
Rinse with clean water and allow the piece to dry completely before proceeding. This crucial first step ensures paint adheres properly and prevents contamination of your work area and supplies.
Repairing Damage and Imperfections
Examine your piece carefully for damage requiring repair. Fill cracks, gouges, and nail holes with appropriate wood filler, slightly overfilling to account for shrinkage as it dries. For larger repairs, consider using two-part epoxy wood filler for superior strength and durability.
Once filler dries completely, sand smooth using progressively finer sandpaper grits. Start with 120-grit to shape repairs flush with surrounding surfaces, then finish with 220-grit for a smooth blend. Tighten any loose joints with wood glue and clamps, allowing adequate drying time before continuing.
Sanding for Paint Adhesion ✨
Sanding creates texture that helps paint grip surfaces effectively. For previously finished pieces, you don’t need to remove all existing finish—just scuff the surface enough to promote adhesion. Use 120 or 150-grit sandpaper and sand in the direction of the wood grain using even pressure.
Alternative deglossing products offer chemical alternatives to sanding, particularly useful for detailed pieces where sanding proves difficult. Apply deglosser with a cloth following manufacturer instructions, then wipe clean and allow to dry before painting.
After sanding, remove all dust using a vacuum, followed by wiping with a tack cloth. Any remaining dust particles will create bumps in your paint finish, so thoroughness here pays dividends in your final results.
Mastering Basic Painting Techniques for Furniture
With preparation complete, you’re ready to apply paint and watch your vision come to life. Understanding proper application techniques ensures smooth, professional-looking results regardless of your experience level.
Priming for Success
While chalk paint often doesn’t require primer, most other paint types benefit from a quality primer coat. Primer improves adhesion, prevents stains from bleeding through, and reduces the number of paint coats needed for full coverage. Choose primer appropriate for your surface—wood, metal, or laminate each require specific formulations.
Apply primer in thin, even coats using a brush or roller. Avoid thick application that causes drips and extends drying time. One solid primer coat typically suffices, though highly porous woods or very dark existing finishes may benefit from a second coat.
Applying Paint Like a Professional
Thin, multiple coats always produce superior results compared to thick, single applications. Load your brush moderately—not dripping but adequately covered—and use long, smooth strokes following the wood grain direction. For larger flat surfaces, foam rollers create beautifully smooth finishes without brush marks.
Allow each coat to dry completely according to manufacturer recommendations before applying the next. Rushing between coats causes paint to peel, crack, or remain tacky. Light sanding with 220-grit sandpaper between coats creates an ultra-smooth finish by removing any raised grain or imperfections.
Most projects require two to three paint coats for full, even coverage. Dark colors covering light surfaces or vice versa may need additional coats. Don’t worry if the first coat looks streaky—subsequent layers build opacity and evenness.
Creative Finishing Techniques for Unique Character
Beyond solid color application, numerous techniques add visual interest and character to refinished pieces. Experimenting with these methods helps you develop a signature style and creates truly one-of-a-kind results.
Distressing for Vintage Appeal 🔨
Distressing artificially ages furniture for authentic vintage charm. After your final paint coat dries, use fine sandpaper to gently remove paint from edges, corners, and areas that would naturally wear over time. Focus on raised details, drawer edges, and high points where authentic wear would occur.
Start conservatively—you can always distress more but can’t undo excessive sanding. Step back frequently to evaluate your progress and ensure distressing looks natural rather than random. Some refinishers apply dark wax or glaze to distressed areas, settling into crevices for enhanced depth and aged appearance.
Two-Tone and Color Blocking
Combining multiple colors creates visual interest and highlights architectural details. Paint drawer fronts in contrasting colors, use different shades for the body and trim, or create geometric patterns with painter’s tape. Two-tone treatments work particularly well on dressers, desks, and pieces with distinct sections.
Use quality painter’s tape for crisp lines between colors, pressing edges firmly to prevent bleeding. Remove tape while the final coat remains slightly tacky for the cleanest lines without pulling dried paint.
Stenciling and Pattern Application
Stencils add decorative elements without requiring artistic skills. Position stencils carefully with painter’s tape, then apply paint using a stencil brush or foam pouncer with an up-and-down dabbing motion. Use minimal paint to prevent bleeding under stencil edges.
Popular stencil applications include decorative patterns on drawer fronts, borders along tabletops, and allover designs on flat surfaces. You can purchase commercial stencils or create custom designs using craft cutting machines.
Protecting Your Work with Appropriate Topcoats
Sealing painted furniture protects your hard work from scratches, stains, and daily wear. Different topcoat options offer varying levels of protection and aesthetic effects, so choosing appropriately ensures long-lasting beauty.
Water-Based Polyurethane
Water-based polyurethane provides excellent durability with minimal yellowing, making it ideal for white and light-colored finishes. It offers good protection for high-use pieces like dining tables, dressers, and desks. Available in matte, satin, and gloss finishes, it dries quickly and cleans up with soap and water.
Apply with a quality synthetic brush or foam applicator in thin, even coats. Light sanding between coats with 320-grit sandpaper creates glass-smooth results. Two to three coats provide adequate protection for most furniture applications.
Furniture Wax for Soft Luster
Wax creates beautiful, soft finishes particularly suited to chalk paint and vintage-style pieces. Applied with a cloth or brush and buffed to desired sheen, wax enhances colors while providing moderate protection. Dark wax adds antiquing effects, settling into details and distressed areas for enhanced depth.
Wax requires reapplication over time and offers less protection than polyurethane, making it better suited for decorative pieces rather than heavily used surfaces. However, its forgiving application and gorgeous appearance make it popular among furniture painters.
Special Considerations for Different Materials
While wood furniture dominates thrift stores, you’ll encounter various other materials requiring specific approaches for successful refinishing.
Metal Furniture and Décor
Metal pieces need proper preparation to prevent rust and ensure paint adhesion. Remove rust with wire brushes or rust remover products, then clean thoroughly with degreaser. Apply metal-specific primer before painting with metal paint or spray paint formulated for metal surfaces. Seal outdoor metal pieces with exterior-grade topcoats for weather resistance.
Laminate and Veneer Surfaces
Laminate and veneer require extra adhesion help since they’re non-porous and smooth. Clean thoroughly with deglosser, then apply bonding primer specifically formulated for slick surfaces. Avoid heavy sanding that damages thin veneer layers. Once properly primed, laminate accepts paint well and can look stunning with appropriate preparation.
Updating Hardware for Maximum Impact 🔧
Hardware updates dramatically transform furniture appearance with minimal effort and expense. Replacing dated brass pulls with modern brushed nickel, swapping plain knobs for decorative glass versions, or spray painting existing hardware in metallic finishes creates instant upgrades.
Remove hardware before painting when possible for the cleanest results. If new hardware requires different hole spacing than existing pieces, fill old holes with wood filler and drill new ones after painting. Keep removed screws and hardware pieces organized in labeled bags to prevent confusion during reassembly.
Troubleshooting Common Refinishing Challenges
Even experienced refinishers encounter occasional problems. Understanding solutions prevents frustration and helps you rescue projects that aren’t progressing as planned.
If paint appears streaky or shows brush marks, you may be applying coats too thickly or not maintaining wet edges while painting. Work in smaller sections, blend strokes while paint remains wet, and consider thinning paint slightly for smoother application. Lightly sanding between coats also minimizes visible brush strokes.
Peeling or chipping paint indicates inadequate surface preparation or incompatible products. Ensure you’ve cleaned and deglossed surfaces properly, use appropriate primers, and verify paint compatibility with your topcoat. Sometimes you must strip problematic areas and restart with proper preparation.
Bleed-through from wood tannins or previous finishes requires additional primer coats or shellac-based blocking primer. These stubborn stains continue appearing through regular primer and paint, so addressing them properly from the start saves significant frustration.

Bringing Your Vision to Life with Confidence 💪
Transforming thrifted treasures requires patience, practice, and willingness to learn from each project. Your first refinishing attempt may not achieve perfection, but every piece you complete builds skills and confidence for increasingly ambitious future projects.
Start with smaller, less valuable items while developing techniques before tackling that spectacular dresser or dining table. Watch tutorial videos, join online refinishing communities, and don’t hesitate to experiment with different methods and products to discover what works best for your style and circumstances.
Remember that refinished furniture tells a story—the piece’s history combined with your creative vision creates something genuinely unique that mass-produced items can never replicate. Embrace imperfections as character marks rather than failures, and enjoy the journey of bringing forgotten pieces back to beautiful, functional life.
The sustainable practice of refinishing secondhand finds benefits your wallet, reduces environmental impact, and fills your home with personalized pieces reflecting your individual taste. Each transformed treasure represents creativity, resourcefulness, and the satisfaction of creating beauty with your own hands. So grab those brushes, visit your local thrift stores, and start discovering the incredible potential hiding beneath outdated finishes—your next masterpiece awaits!