Removable decor has revolutionized interior design, offering flexibility and creativity without permanent commitment. However, many enthusiasts make critical mistakes that compromise the flawless finish they desire.
Whether you’re a renter looking to personalize your space or a homeowner who loves frequent style updates, understanding common pitfalls can save you time, money, and frustration. The beauty of removable decor lies in its versatility, but achieving professional-looking results requires knowledge and proper technique. Let’s explore the most frequent mistakes people make and how to avoid them for stunning, damage-free transformations.
🎨 Skipping Proper Surface Preparation
One of the most significant mistakes in removable decor application is neglecting surface preparation. Many people assume they can simply peel and stick, but this approach often leads to disappointing results. Clean surfaces are essential for proper adhesion and longevity of your decorative elements.
Before applying any removable wallpaper, decals, or adhesive hooks, thoroughly clean your walls with a mild detergent solution. Remove dust, grease, and any residue that might interfere with adhesion. Allow surfaces to dry completely before proceeding with installation. This simple step can mean the difference between decor that lasts months or falls within days.
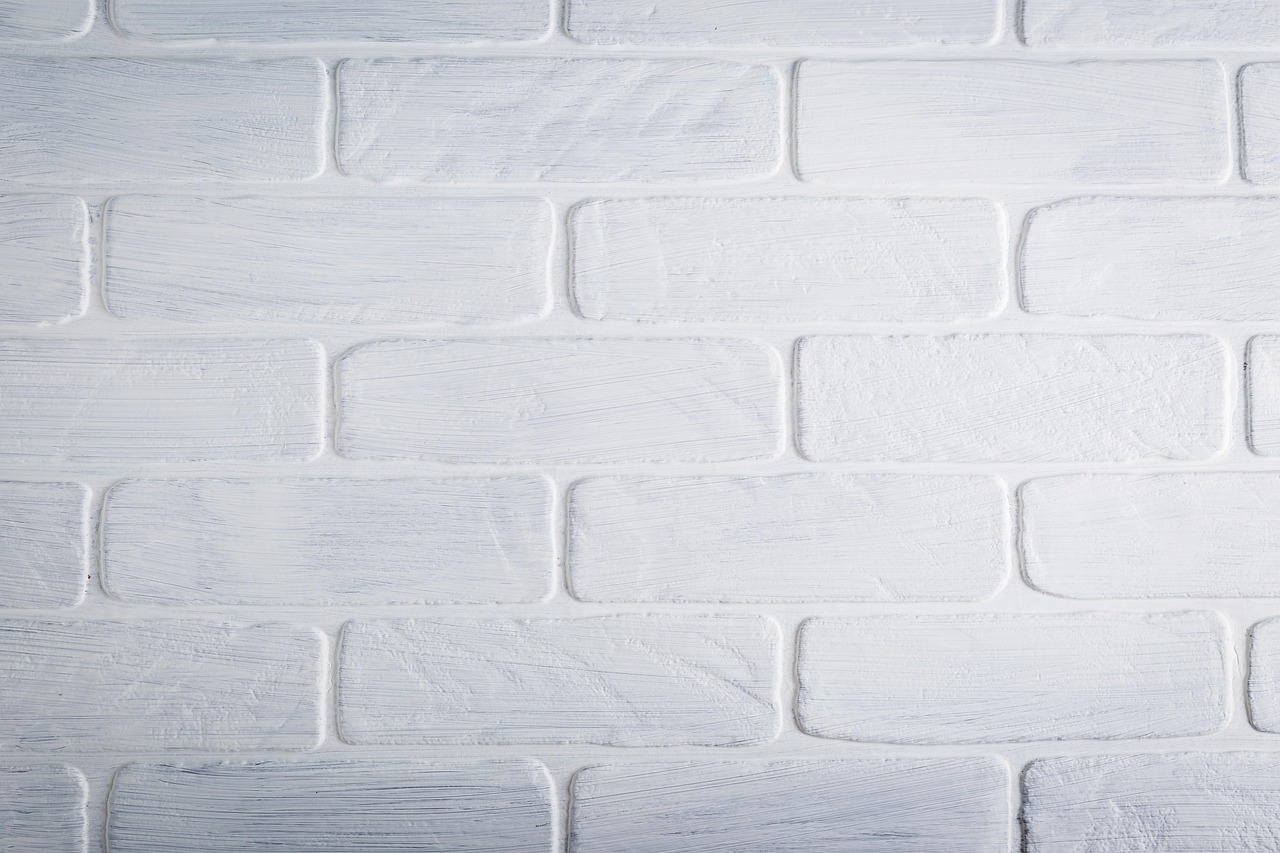
Additionally, inspect your walls for texture issues. Heavily textured surfaces may not provide adequate contact for adhesive products. In such cases, consider using removable decor specifically designed for textured walls or opt for alternative hanging methods that don’t rely solely on adhesive backing.
Temperature and Humidity Considerations
Environmental conditions play a crucial role in successful removable decor installation. Applying products in extreme temperatures or high humidity can severely impact adhesion quality. Ideal installation conditions typically range between 65-75°F with moderate humidity levels.
Cold surfaces can prevent adhesives from bonding properly, while excessive heat may cause premature sticking during positioning. If you’re working in less-than-ideal conditions, allow your removable decor materials to acclimate to room temperature for at least 24 hours before installation.
❌ Choosing the Wrong Type of Removable Decor for Your Space
Not all removable decor products are created equal, and selecting the wrong type for your specific application is a common mistake. Removable wallpaper designed for smooth surfaces won’t perform well on textured walls, and lightweight adhesive hooks won’t support heavy mirrors or shelving.
Research the weight capacity of adhesive products before purchasing. Manufacturers provide clear guidelines about maximum weight limits, and exceeding these specifications can result in falling objects and potential wall damage. For heavier items, consider using multiple hooks or opting for tension-based systems that don’t require wall adhesion.
Similarly, understand the difference between various removable wallpaper types. Peel-and-stick options work differently than traditional wallpaper with removable paste. Self-adhesive vinyl behaves differently than fabric-backed paper. Each material has specific advantages and limitations that should align with your project requirements.
Understanding Material Compatibility
Different wall surfaces interact uniquely with removable decor materials. Painted drywall, glass, tile, wood, and textured surfaces each present distinct challenges. What works beautifully on smooth painted walls might fail on freshly painted surfaces or those with flat paint finishes.
Newly painted walls require at least 30 days of curing time before applying removable decor. Fresh paint hasn’t fully bonded with the wall surface, and premature application can result in paint removal when you later remove your decor. This waiting period is essential for protecting your walls and ensuring proper adhesion.
📏 Measurement Mistakes That Compromise Results
Accurate measurement is fundamental to achieving professional-looking results with removable decor. Rushing through the planning phase and estimating dimensions instead of measuring precisely leads to poorly aligned patterns, insufficient material, or excessive waste.
Always measure your space multiple times before ordering materials. Account for outlets, switches, corners, and architectural features that will require careful cutting and fitting. When working with patterned removable wallpaper, calculate pattern repeats to ensure proper alignment across panels.
Create a detailed sketch or diagram of your space with exact measurements. This visual reference proves invaluable during installation, especially when working with complex layouts or multiple wall surfaces. Taking time for thorough planning prevents costly mistakes and reduces material waste.
The Importance of Ordering Extra Material
Experienced decorators always order 10-15% more material than calculated measurements suggest. This buffer accounts for mistakes, pattern matching, and potential damage during installation. Running short on material mid-project can be frustrating, especially if your chosen design becomes unavailable or requires lengthy shipping times.
⚠️ Improper Installation Techniques
Even with quality products and proper preparation, poor installation technique can ruin your results. Working too quickly, applying excessive pressure, or failing to smooth out air bubbles creates an amateur appearance that detracts from your space.
When applying removable wallpaper, work from top to bottom and from center outward. Use a smoothing tool or squeegee to eliminate air bubbles as you go, rather than trying to fix them afterward. Take your time aligning patterns at seams, as misalignment becomes increasingly noticeable as you progress across the wall.
For adhesive hooks and hanging systems, follow manufacturer instructions precisely. Position items level using appropriate tools rather than eyeballing placement. Press adhesive products firmly for the recommended duration, typically 30-60 seconds, to ensure maximum bond strength.
The Repositioning Trap
While many removable decor products advertise repositionability, excessive adjustments weaken adhesion. Each time you peel and reposition, you reduce the adhesive’s effectiveness. Plan your layout carefully and aim to position correctly on the first or second attempt.
If repositioning is necessary, do so immediately after initial application. Once adhesive has set for several hours, attempting to reposition can damage both the product and your wall surface. When working with large panels of removable wallpaper, consider using painter’s tape to temporarily position pieces before final application.
🛠️ Neglecting Proper Tools and Supplies
Attempting removable decor installation without appropriate tools is like trying to paint without brushes. While you might achieve some results, they’ll fall far short of what’s possible with proper equipment. Many people underestimate the importance of quality installation tools.
Essential tools for most removable decor projects include a level, smoothing tool or squeegee, sharp utility knife, measuring tape, pencil, and cleaning supplies. For wallpaper projects, a water spray bottle can help with positioning, while a seam roller ensures tight edges between panels.
Investing in quality tools pays dividends across multiple projects. A good smoothing tool prevents scratching or tearing delicate materials, while a sharp blade ensures clean cuts around outlets and corners. These tools aren’t expensive, but they significantly impact your final results.
🚫 Ignoring Removal Best Practices
The beauty of removable decor lies in its temporary nature, yet many people damage walls during removal by using improper techniques. Understanding correct removal procedures protects your deposit if you’re renting and preserves wall integrity for future decorating.
When removing adhesive products, work slowly and at the proper angle. Most removable wallpaper should be pulled back at a 45-degree angle, slowly and steadily. Rushing the process or pulling at sharp angles can tear the material or remove paint underneath.
For adhesive hooks and hanging systems, follow manufacturer removal instructions carefully. Many require warming the adhesive with a hairdryer before gently stretching the removal tab. Never pull adhesive products straight off the wall, as this concentrates force and increases damage risk.
Dealing with Stubborn Adhesive Residue
Sometimes adhesive residue remains after removing decor, but panic isn’t necessary. Gentle removal methods using appropriate solvents can eliminate residue without damaging paint. Rubbing alcohol, adhesive removers designed for walls, or even gentle heat application can dissolve stubborn adhesive.
Test any removal product in an inconspicuous area first to ensure it won’t damage your paint or wall surface. Apply removal solutions sparingly with a soft cloth, working in small sections. Patience during this process prevents the need for wall repairs or repainting.
💡 Overlooking Design Principles and Proportions
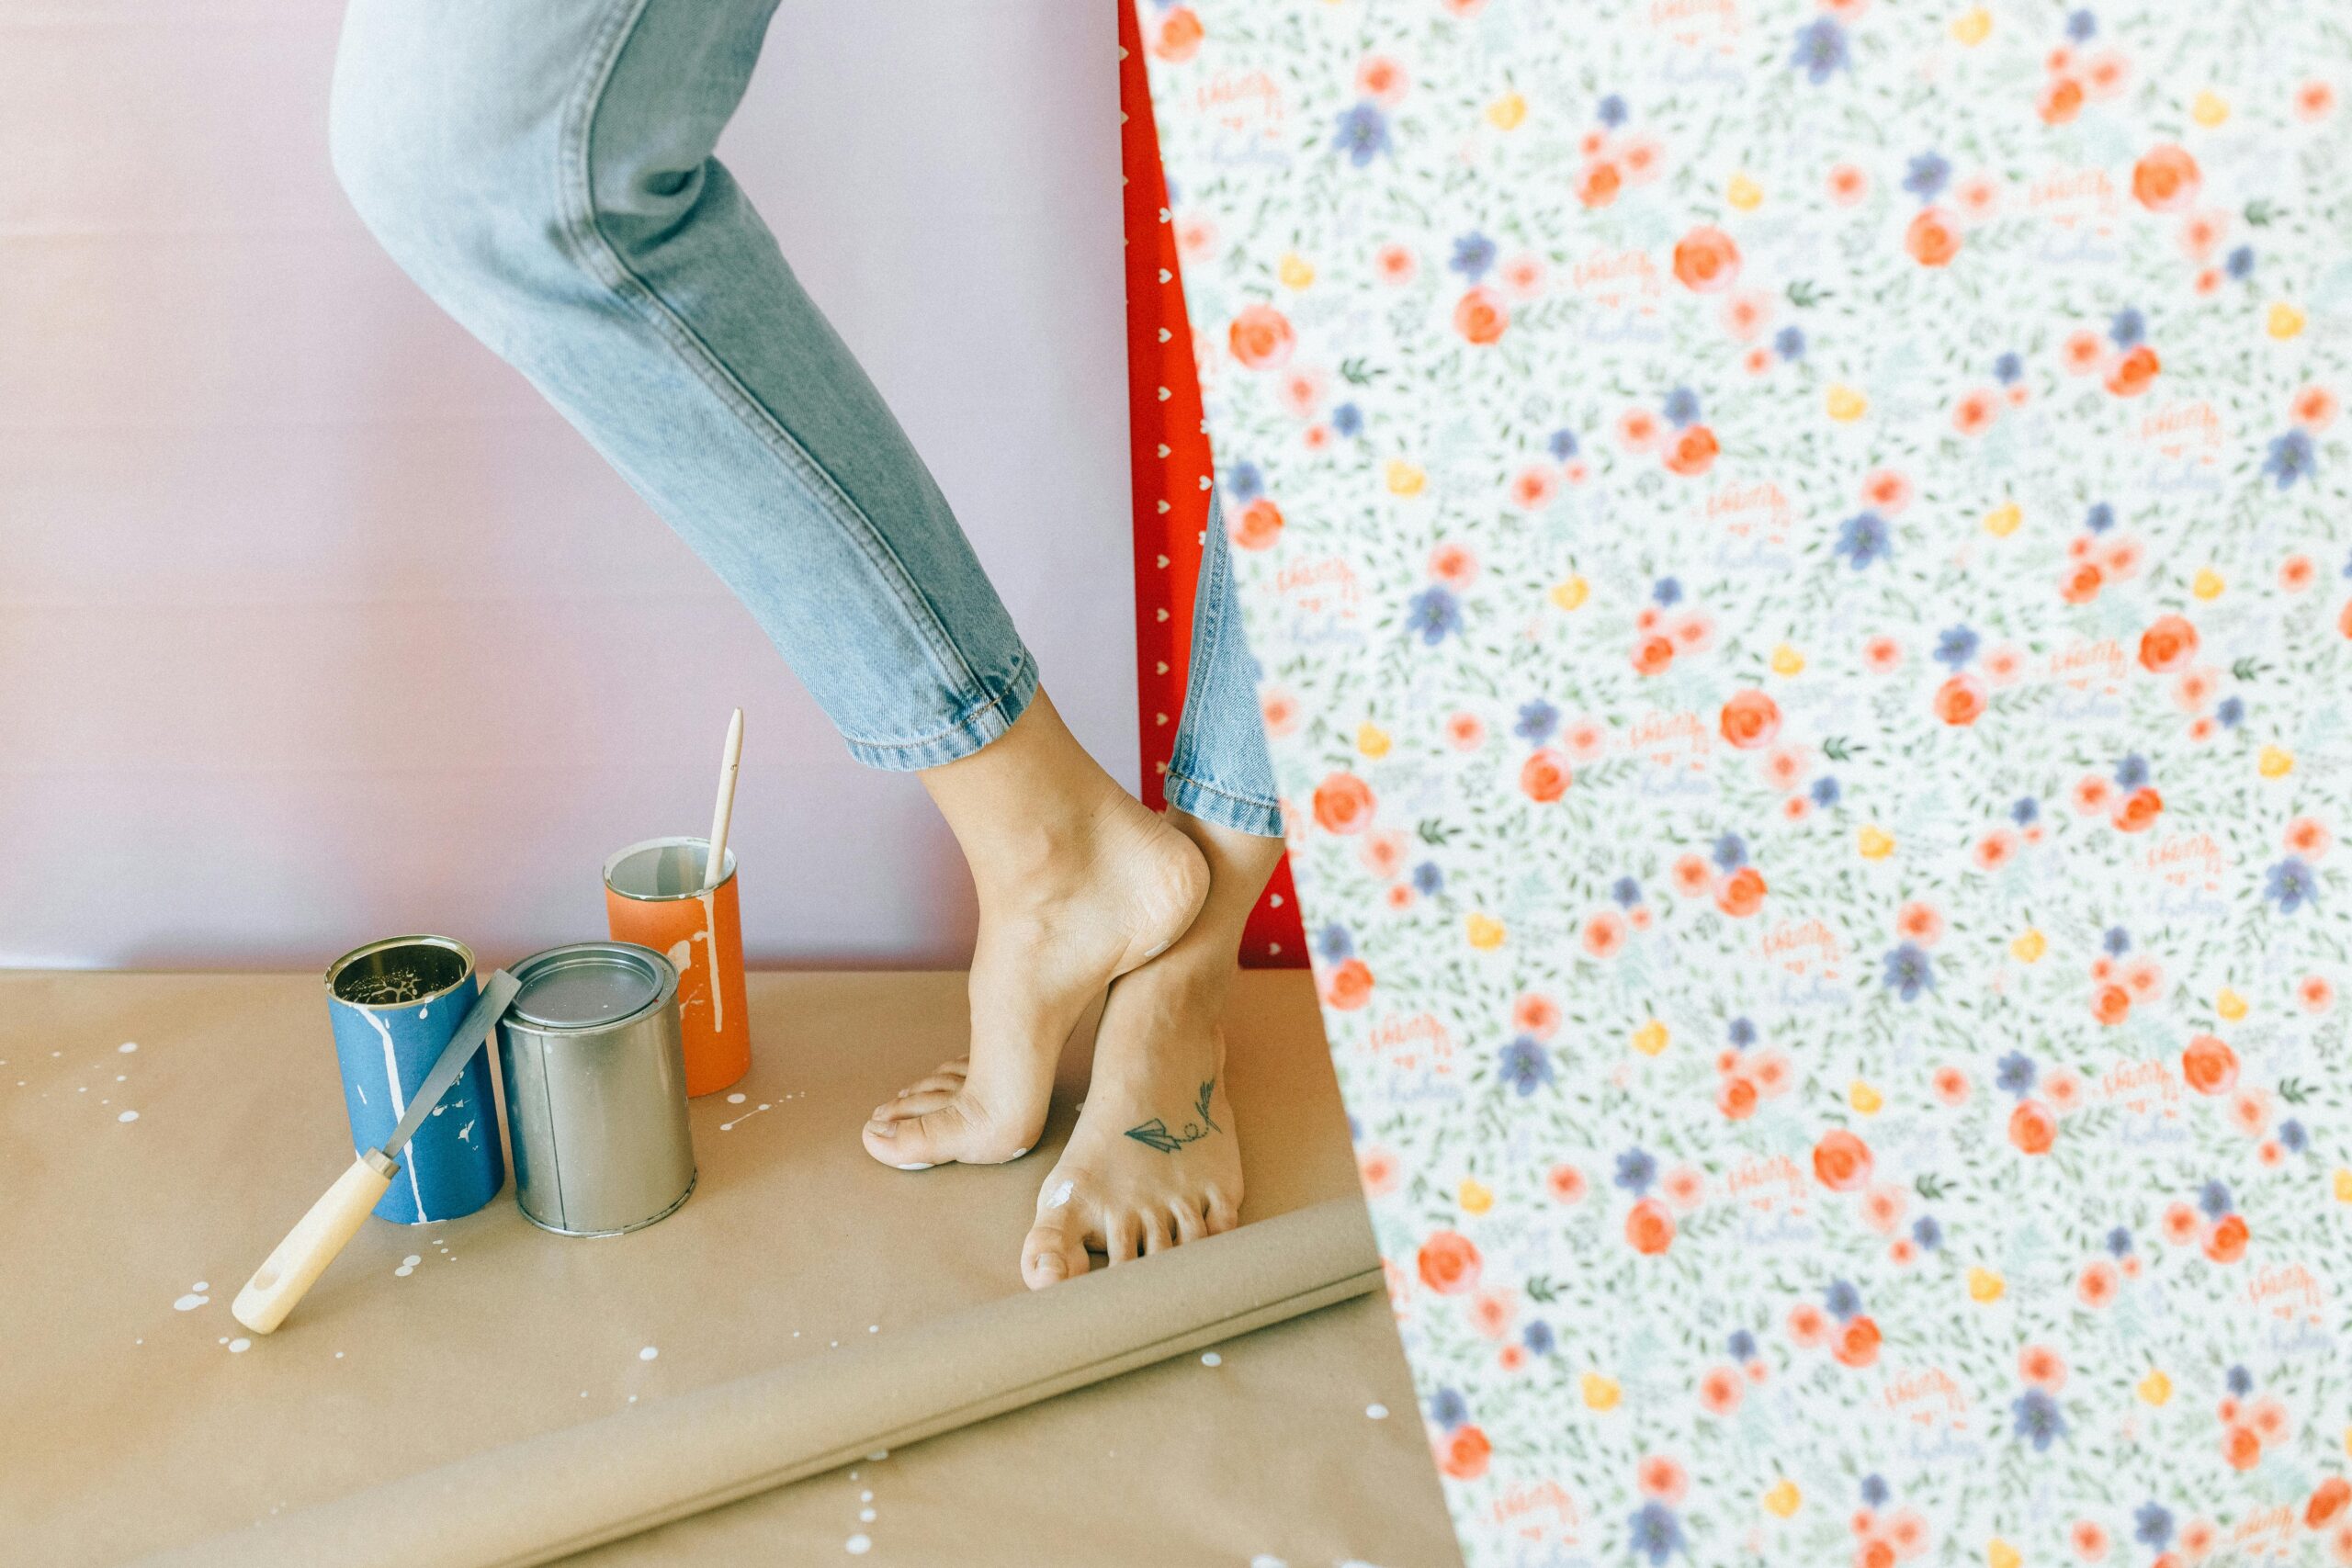
Technical execution means little if your design choices don’t complement your space. Common mistakes include selecting patterns that overwhelm small rooms, choosing colors that clash with existing decor, or applying removable wallpaper to inappropriate walls.
Consider the scale of patterns relative to room size. Large, bold patterns work beautifully in spacious rooms but can make small spaces feel cramped and chaotic. Similarly, busy patterns on all walls create visual overload, while accent walls provide interest without overwhelming.
Think about how natural and artificial light interact with your chosen decor. Reflective metallic finishes can brighten dark spaces but may create glare in rooms with abundant natural light. Matte finishes work well in high-light areas, while subtle sheen adds dimension to spaces with limited lighting.
Creating Cohesive Design Flow
Your removable decor should enhance existing design elements rather than competing with them. Consider your furniture, textiles, and accessories when selecting colors and patterns. Create a mood board before purchasing to visualize how different elements work together.
Don’t forget about architectural features when planning decor placement. Windows, doors, baseboards, and crown molding should inform your design decisions. Proper alignment with these permanent features creates polish and intentionality in your finished space.
🔍 Failing to Test Before Full Commitment
One of the smartest strategies for avoiding removable decor disasters is testing products before full installation. Many manufacturers offer samples, allowing you to evaluate color, texture, and adhesion in your actual space before investing in full quantities.
Apply test samples to your walls in different lighting conditions and observe how they look throughout the day. Natural light changes dramatically from morning to evening, and colors that look perfect at noon might appear entirely different in evening artificial light.
Testing also allows you to practice installation techniques without the pressure of working on your entire project. You’ll learn how the material handles, how forgiving it is during positioning, and whether you’re comfortable with the application process before tackling larger areas.
🎯 Mixing Too Many Decor Styles and Products
The accessibility of diverse removable decor options tempts many people to incorporate too many different styles, creating visual chaos rather than cohesive design. While mixing patterns and textures can add interest, doing so without a unifying theme results in a disjointed appearance.
Establish a clear design vision before purchasing products. Choose a primary style—whether modern, bohemian, minimalist, or traditional—and select removable decor that supports this aesthetic. Limit your color palette to 3-5 coordinating colors to maintain visual harmony.
If you love variety, designate different rooms for different styles rather than mixing everything in one space. This approach allows you to explore diverse aesthetics while maintaining coherence within individual rooms.
📱 Not Utilizing Planning and Visualization Tools
Modern technology offers incredible resources for planning removable decor projects, yet many people skip these valuable tools. Design apps and room visualizers help you preview how products will look in your space before making purchases, reducing costly mistakes.
Take advantage of augmented reality features offered by many decor retailers. These tools use your phone camera to show how wallpapers, wall art, and other decorative elements will appear on your actual walls. This preview capability eliminates much of the guesswork from online shopping.
Photography also serves as a powerful planning tool. Take clear photos of your space from multiple angles, then use editing apps to experiment with different color schemes and patterns. This digital experimentation costs nothing but provides valuable insights before you invest in actual products.

✨ Transform Your Space With Confidence
Avoiding these common removable decor mistakes empowers you to create beautiful, professional-looking spaces that reflect your personal style. The flexibility of temporary decor means you can experiment with design without permanent commitment, but achieving flawless results requires knowledge, preparation, and proper technique.
Remember that patience throughout the process yields superior results. Rushing through preparation, measurement, or installation inevitably compromises your finished appearance. Take time to plan thoroughly, prepare surfaces properly, and execute installation techniques carefully.
Your space deserves thoughtful attention to detail. By understanding and avoiding these frequent pitfalls, you’ll achieve the stunning transformations that inspired you to explore removable decor in the first place. Whether refreshing a single accent wall or reimagining an entire room, these insights will guide you toward success.
Start your next project with confidence, knowing you’re equipped to avoid the mistakes that trip up countless DIY decorators. Your perfectly transformed space awaits, and now you have the knowledge to make it a reality without the common frustrations that derail so many well-intentioned projects.