Removing items from walls can be stressful, especially when you’re worried about leaving marks, holes, or peeling paint. Whether you’re redecorating, moving out, or simply refreshing your space, protecting your walls during removal is crucial.
Many homeowners and renters face the same challenge: how to take down hooks, nails, tape, shelves, and decorations without causing expensive damage. The good news is that with the right techniques and tools, you can safely remove almost anything from your walls while keeping them pristine and ready for whatever comes next.
🔍 Understanding Your Wall Type Before You Start
Before attempting any removal project, identifying your wall type is essential. Different wall materials require different approaches, and what works for drywall might damage plaster or brick.
Drywall is the most common interior wall material in modern homes. It’s relatively soft and forgiving but can tear or crumble if handled roughly. Plaster walls, found in older homes, are harder but more brittle and prone to cracking. Concrete and brick walls present their own challenges, typically requiring more specialized tools for removal.
Testing a small, inconspicuous area first can save you from costly mistakes. Gently press on the wall to gauge its firmness, and check whether paint peels easily or remains firmly adhered. This preliminary assessment will guide your removal strategy.
The Right Tools Make All the Difference
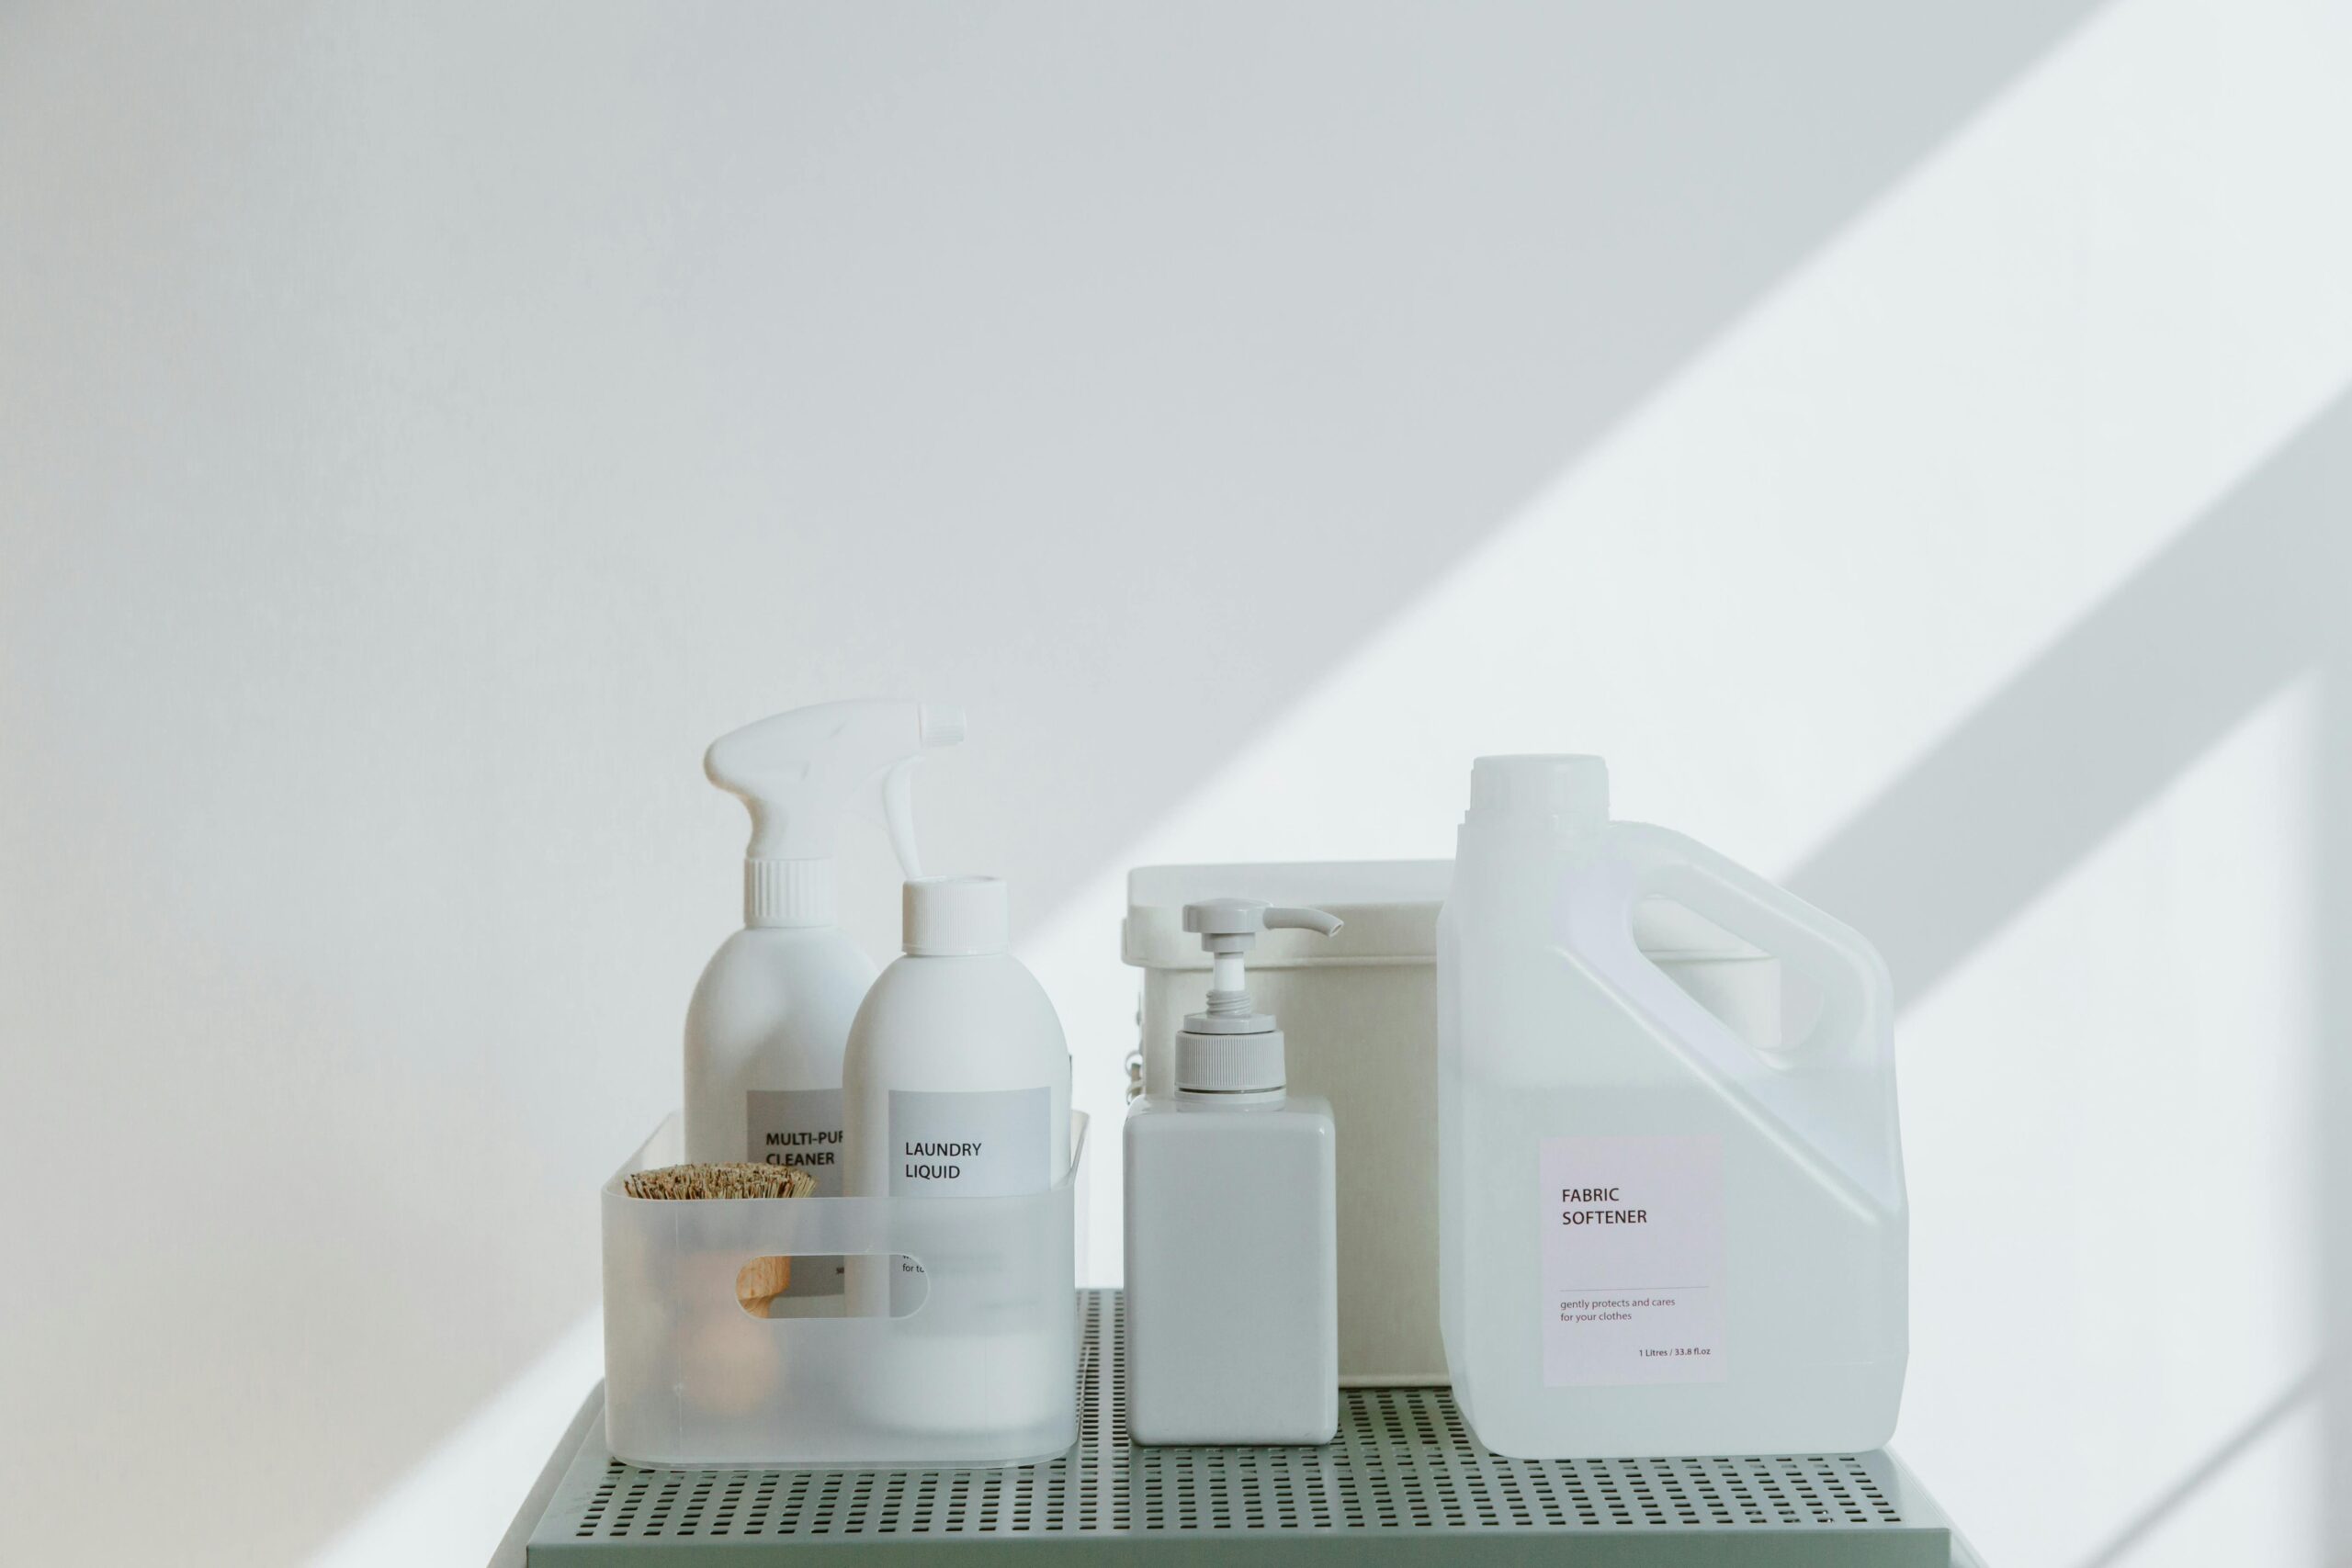
Having proper equipment before starting any wall removal project dramatically increases your success rate. Basic tools you should gather include a putty knife or scraper, needle-nose pliers, a hammer, spackling compound, sandpaper, and painter’s tape.
For adhesive removals, consider keeping rubbing alcohol, warm water, mild soap, a hairdryer, and commercial adhesive removers on hand. These solutions help break down sticky residues without damaging underlying paint or wall material.
Investing in quality tools pays dividends. A flexible putty knife with a thin blade allows you to work gently behind stuck items, while a good quality spackle ensures smooth repairs that blend seamlessly with your existing walls.
🎯 Safe Removal of Command Strips and Adhesive Hooks
Command strips and similar adhesive products have revolutionized temporary wall decorating, but improper removal remains a common source of paint damage. The key lies in following the manufacturer’s specific removal instructions.
For most command strips, pull the tab straight down along the wall surface rather than pulling it away from the wall. This technique stretches the adhesive, releasing its bond without tearing paint. Move slowly and steadily, maintaining consistent pressure throughout the removal process.
If the strip snaps during removal, don’t panic. Use dental floss or fishing line to gently work behind the remaining adhesive, using a sawing motion parallel to the wall. Applying gentle heat with a hairdryer for 20-30 seconds can also soften stubborn adhesives, making them easier to remove.
Dealing with Stubborn Adhesive Residue
Sometimes adhesive leaves behind sticky residue even after successful removal. Rubbing alcohol applied to a soft cloth works wonders for most adhesive remnants. Dab the residue rather than rubbing aggressively, allowing the alcohol time to dissolve the adhesive.
Commercial adhesive removers like Goo Gone are effective but should be tested on an inconspicuous area first. Some formulations can dull or discolor certain paint finishes. Always follow up with mild soap and water to remove any residual chemicals.
Removing Nails and Picture Hooks Without Leaving Marks
Traditional hanging methods using nails and hooks create holes that must be addressed. The removal technique affects the size and complexity of repairs needed afterward.
When removing nails, use a claw hammer with a thin piece of wood or sturdy cardboard placed between the hammer head and wall. This protective barrier distributes pressure, preventing the hammer from denting or damaging the wall surface around the nail.
Pull nails at the same angle they were driven in, which minimizes wall material disruption. Pulling straight out often enlarges the hole and tears surrounding drywall paper, creating more extensive repair work.
Extracting Anchors and Wall Plugs Properly
Wall anchors present a unique challenge because they’re designed to expand and grip within the wall. Plastic anchors can sometimes be removed by screwing in a screw just enough to grab the anchor, then pulling both out together with pliers.
For anchors that won’t budge, pushing them into the wall cavity is often better than pulling and enlarging the hole. Once pushed through, the hole can be filled and patched. Metal anchors typically require unscrewing or cutting flush with the wall surface.
📏 Taking Down Shelves and Heavy Fixtures
Heavy shelves and fixtures require careful planning during removal. Start by clearing all items and checking for hidden fasteners or brackets. Many shelving systems have concealed hardware that must be located before attempting removal.
Have a helper support the weight while you remove fasteners, preventing the fixture from falling and tearing out larger sections of wall. Work systematically, removing bottom fasteners last so gravity doesn’t work against you.
Document the installation before removal by taking photos of bracket positions and hardware. This information proves invaluable if you need to patch holes precisely or reinstall fixtures elsewhere.
Removing Tape Without Taking Paint With It
Painter’s tape, masking tape, and duct tape all require different removal approaches. Time is often the enemy—the longer tape remains on walls, the more stubbornly it adheres and the greater the risk of paint removal.
Remove tape slowly at a 45-degree angle, pulling back on itself rather than straight away from the wall. This technique reduces the pulling force on paint. If tape resists, apply heat with a hairdryer to soften the adhesive before attempting removal.
For old, dried-out tape, patience is crucial. Work in small sections, and don’t be afraid to stop and apply more heat as needed. Rushing this process almost guarantees paint damage.
Special Considerations for Different Paint Types
Flat and matte paints are most vulnerable to damage during tape removal because they have less resin binding the pigment. Semi-gloss and gloss paints tolerate removal better but can still peel if the tape has been in place for extended periods.
Newly painted walls (less than 30 days old) are particularly susceptible to damage. Whenever possible, avoid placing tape or adhesives on fresh paint, allowing adequate curing time before attaching anything.
🛠️ Professional Wallpaper Removal Techniques
Wallpaper removal is among the most challenging wall projects, but proper techniques prevent underlying damage. Start by identifying your wallpaper type—strippable, peelable, or traditional—as this determines the best removal method.
Strippable wallpaper should lift off in sheets when you pull from the bottom corner. Peelable wallpaper removes the vinyl layer, leaving a backing that must be dampened and scraped away. Traditional wallpaper requires scoring, soaking, and scraping.
A wallpaper scoring tool creates tiny perforations that allow removal solutions to penetrate behind the paper. Use light pressure to avoid damaging the drywall beneath. Apply wallpaper removal solution or a mixture of hot water and fabric softener, allowing it to soak for the recommended time.
Filling Holes and Repairing Damage
Even with careful removal, some repairs are usually necessary. Small nail holes require only lightweight spackle applied with a putty knife. Overfill slightly, as most compounds shrink when drying.
Larger holes need multiple applications. Apply a first layer, let it dry completely (usually 2-4 hours), then sand smooth before applying additional layers. For holes larger than a quarter, consider using a patch kit designed specifically for drywall repair.
Sanding between coats ensures a smooth, undetectable repair. Use fine-grit sandpaper (150-220 grit) and work in circular motions, feathering the edges of your patch to blend with the surrounding wall surface.
Matching Paint for Touch-Ups
After repairs dry completely, painting ensures your walls look flawless. If you have original paint leftover, stir it thoroughly as pigments settle over time. Test the color on a hidden section first to confirm it hasn’t changed.
Without original paint, bring a paint chip from an inconspicuous area to a paint store for color matching. Modern technology makes this surprisingly accurate. Apply touch-up paint sparingly with a small brush or foam applicator, building coverage gradually.
🏠 Prevention: Hanging Items Without Future Damage
The best protection comes from using damage-free hanging methods from the start. Removable adhesive hooks have improved dramatically and now support surprising amounts of weight when properly installed.
For renters or those who frequently redecorate, picture rail systems installed at the ceiling line allow hanging without any wall penetration. Items hang from cords or wires, offering flexibility without permanent wall alterations.
When nails are necessary, using the smallest possible fastener adequate for the weight reduces hole size. Professional picture hangers often prefer two small nails at angles rather than one large nail, distributing weight while creating easier-to-repair holes.
Special Solutions for Textured Walls
Textured walls require extra care during removal and repair. Popcorn ceilings, orange peel textures, and knockdown finishes all present unique challenges when removing attached items.
Work slowly around textured surfaces, as these finishes are easily scraped or chipped. When filling holes in textured walls, standard spackle creates smooth patches that stand out. Specialty texture compounds or spray textures help blend repairs with surrounding surfaces.
Practice your texture technique on cardboard before applying to walls. Matching existing textures takes skill, and sometimes hiring a professional for conspicuous repairs saves frustration and delivers better results.
💡 Common Mistakes to Avoid
Learning from others’ mistakes saves your walls. Never use excessive force when removing adhesives or fasteners—patience prevents damage. Rushing through removal processes causes most problems.
Avoid using metal scrapers directly against painted surfaces without protection. Even careful scraping can gouge or scratch. Always place a thin putty knife blade between the scraper and wall, or wrap metal edges with tape.
Don’t ignore small damages hoping they’ll become invisible. Small holes and marks are easiest to repair immediately. Left unaddressed, they collect dust and become more noticeable over time.
When to Call Professional Help
Some situations exceed DIY capabilities. Extensive wallpaper removal in large spaces often justifies professional assistance, as experts complete the work faster with better results and proper equipment.
If you discover unexpected issues like water damage, mold, or crumbling plaster during removal, stop and consult professionals. These problems require specialized knowledge and can worsen with improper handling.
For rental properties, consider the cost-benefit analysis. Professional repairs might cost less than potential security deposit deductions for damaged walls. Landlords typically require professional-quality repairs for deposit return.
🎨 Refreshing Walls After Removal Projects
Once everything is removed and repaired, consider refreshing entire walls rather than just spot-treating. A fresh coat of paint makes all repairs invisible and gives your space a completely renewed appearance.
If painting isn’t feasible, professional wall cleaning can dramatically improve appearance. Gentle cleaners formulated for painted walls remove accumulated dirt and marks, making existing paint look refreshed.
For walls with multiple repairs or stubborn stains, primer before painting ensures even color and proper adhesion. Tinted primer matching your final paint color provides excellent coverage, often requiring just one finish coat.
Eco-Friendly Removal and Repair Options
Environmental consciousness extends to wall repair projects. Many low-VOC and zero-VOC spackles and paints are now available, reducing harmful emissions while delivering professional results.
Natural adhesive removers made from citrus oils work effectively on many adhesives without harsh chemicals. White vinegar diluted with water removes some adhesive residues and costs pennies compared to commercial products.
When disposing of old wall materials, check local recycling options. Some facilities accept drywall scraps, and many paint retailers offer paint recycling programs. Reducing landfill waste benefits everyone.
Your Wall Protection Action Plan
Successful wall protection combines careful preparation, appropriate techniques, and proper tools. Start every project by assessing wall type and condition, gathering necessary supplies, and working methodically rather than rushing.
Remember that minor repairs are normal and expected. Even professionals occasionally cause small damages during removal projects. The difference lies in addressing these issues promptly and properly, leaving walls looking untouched.
By following these expert strategies, you can confidently remove items from your walls without fear of damage. Whether you’re preparing to move, redecorating, or simply taking down seasonal decorations, these techniques ensure your walls remain in excellent condition, preserving your home’s value and appearance while giving you the freedom to change your space whenever inspiration strikes. Taking time to protect your walls during removal saves money, stress, and preserves the beauty of your living environment for years to come.