Transforming your living space doesn’t have to be overwhelming or permanent. With the right approach and a comprehensive checklist, you can create a stunning environment that reflects your personality while maintaining flexibility for future changes.
The beauty of removable décor lies in its versatility and renter-friendly nature. Whether you’re looking to refresh a single room or redesign your entire home, having a systematic approach ensures you won’t miss any crucial details while keeping the process enjoyable and stress-free.
✨ Why Removable Décor is a Game-Changer for Modern Living
Today’s decorating landscape has evolved dramatically from the days when every design decision felt permanent and intimidating. Removable décor has revolutionized how we approach interior styling, offering freedom, flexibility, and endless creative possibilities without the commitment or potential damage to walls and surfaces.
For renters, frequent movers, or anyone who loves changing their environment seasonally, removable decorating solutions provide the perfect answer. You can express your style boldly without worrying about losing security deposits or being stuck with choices that no longer resonate with your evolving taste.
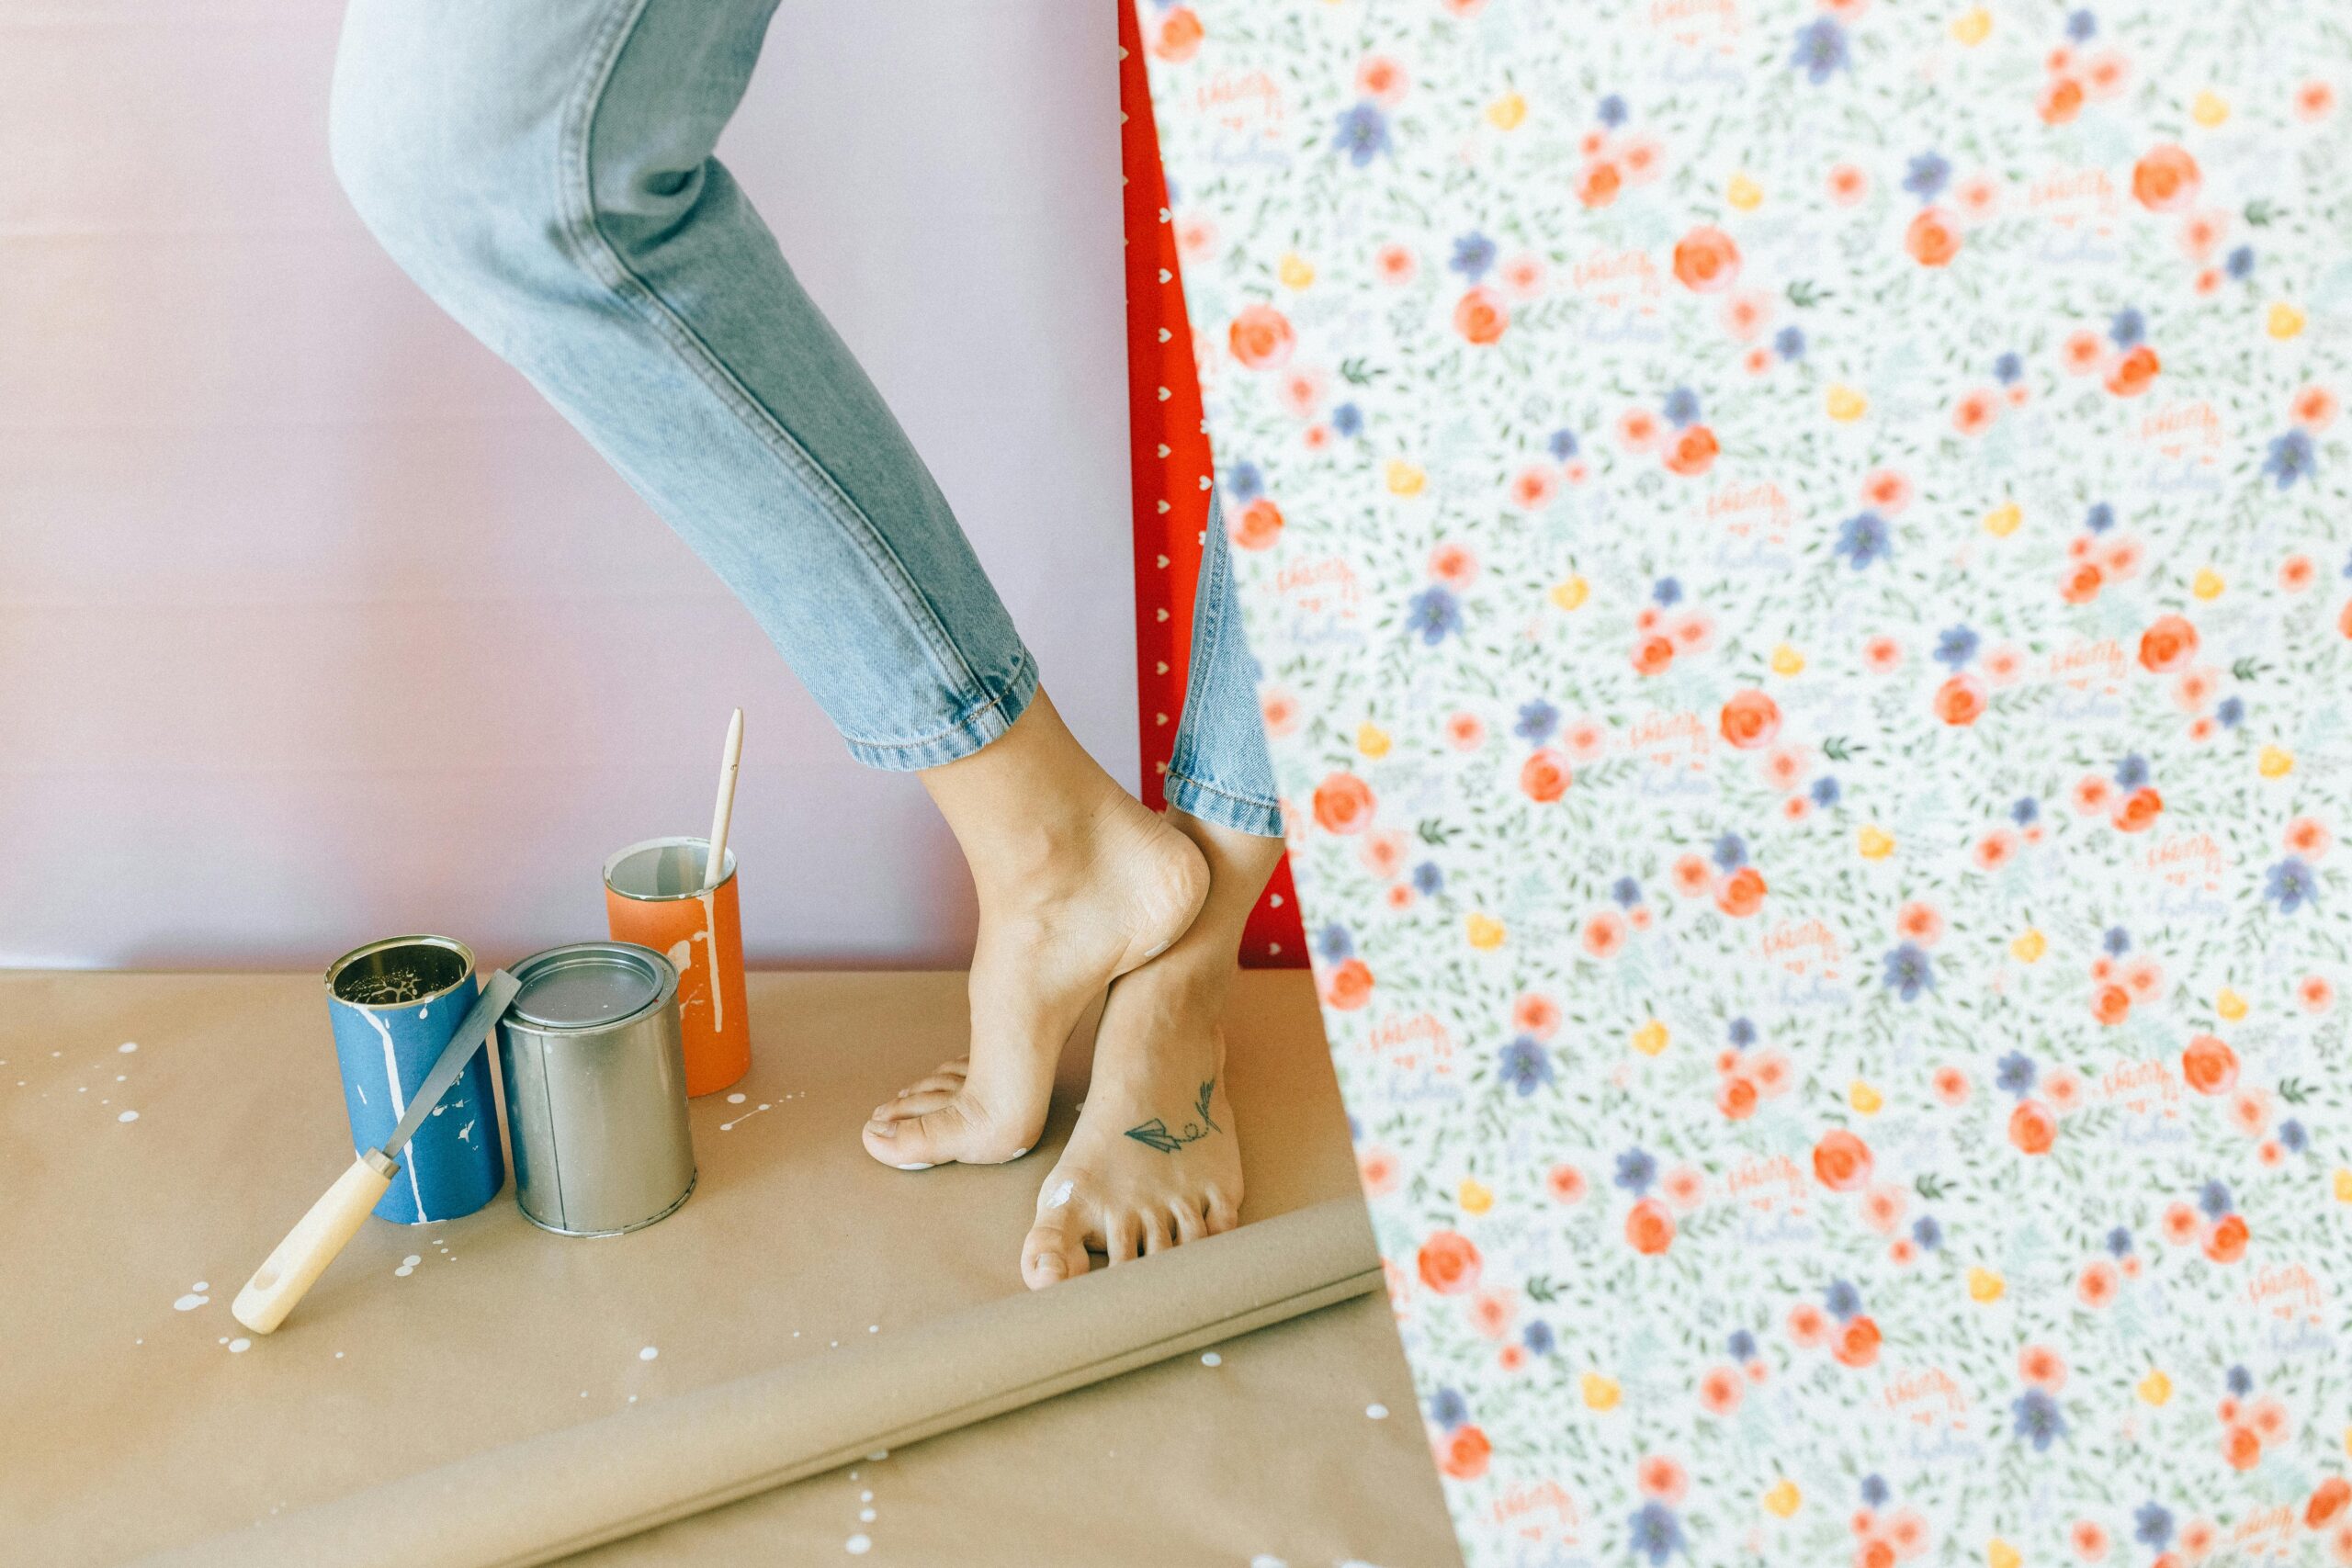
The market now offers an incredible array of peel-and-stick wallpapers, removable wall decals, temporary tile covers, and other innovative products that look just as polished as their permanent counterparts. This democratization of design means beautiful spaces are accessible to everyone, regardless of homeownership status or DIY skill level.
📋 Creating Your Ultimate Printable Décor Checklist
A well-organized checklist serves as your roadmap through the decorating process, preventing forgotten elements and helping you stay within budget. Your printable checklist should be comprehensive yet flexible enough to adapt to your specific space and style preferences.
Essential Categories to Include in Your Checklist
Start by dividing your checklist into logical sections that correspond to different aspects of your decorating project. This organizational structure makes the process less overwhelming and allows you to tackle one category at a time without feeling scattered or losing focus on the bigger picture.
Wall treatments should occupy the first section of your checklist, as they typically have the most dramatic impact on a space. Include options like removable wallpaper, wall decals, peel-and-stick tiles, temporary shiplap panels, and adhesive borders. Note measurements for each wall and any special considerations like textured surfaces or moisture concerns.
Flooring enhancements come next, with items such as removable floor decals, peel-and-stick vinyl planks, temporary carpet tiles, and area rugs that can define spaces without permanent installation. Document the square footage needed and any transition areas that require special attention.
Functional Décor Elements
Your checklist should include functional items that serve dual purposes—adding style while solving practical problems. Command strips and removable hooks deserve their own category, as they’re the workhorses of temporary decorating, supporting everything from artwork to storage solutions.
Consider window treatments that install without drilling, including tension rods, magnetic curtain rods, and adhesive blinds. These elements significantly impact both aesthetics and functionality, controlling light and privacy while contributing to your overall design scheme.
Lighting transforms ambiance dramatically, so include battery-operated wall sconces, peel-and-stick LED strips, portable floor lamps, and string lights that create atmosphere without requiring electrical work or permanent fixtures.
🎨 Color Coordination and Style Planning
Before diving into purchases, dedicate a section of your checklist to planning your color palette and overall aesthetic direction. This preparatory work prevents costly mismatches and ensures cohesive results that look intentionally designed rather than randomly assembled.
Choose a primary color that will dominate your space, typically covering 60% of the visual field. Select a secondary color for approximately 30% of the design, and finally pick an accent color for the remaining 10% to add pops of interest and personality.
Document your chosen colors with specific names, hex codes, or paint samples attached to your printed checklist. This reference prevents confusion when shopping across different stores or online platforms where color representations may vary across screens and lighting conditions.
Style Consistency Across Rooms
If you’re decorating multiple rooms, create a flow chart section on your checklist showing how spaces connect visually. Identify which elements should repeat throughout your home to create continuity and which can vary to give each room its distinct character.
Consider the sight lines from one room to another. What you see when standing in your living room looking toward the hallway matters for overall cohesion. Note these visual connections on your checklist to ensure complementary rather than clashing design choices.
🛍️ Shopping Strategy and Budget Management
Transform your checklist into a powerful budgeting tool by adding columns for estimated costs, actual prices, and where to purchase each item. This financial tracking prevents overspending and helps you identify where to splurge versus save for maximum impact.
Prioritize your purchases by categorizing items as “must-have,” “nice-to-have,” and “future additions.” This hierarchy ensures you complete the most important aspects of your transformation first while leaving room for gradual enhancements as budget allows.
Research before buying by including a notes column where you can jot down product names, brand comparisons, and customer review insights. This prevents impulse purchases of inferior products and ensures you’re investing in removable décor items that actually perform as advertised.
Timing Your Purchases Strategically
Add a timeline section to your checklist noting seasonal sales patterns for home décor items. Many retailers offer significant discounts during specific months, and planning purchases around these cycles can stretch your budget considerably further without compromising on quality.
Consider the installation sequence when planning purchase timing. There’s no sense buying curtains before you’ve selected and installed wallpaper, as the wall treatment should inform window treatment choices rather than the reverse.
📐 Measurement and Space Assessment
Accurate measurements prevent the frustration of ordering insufficient materials or items that don’t fit properly. Create a dedicated measurements section on your checklist with clearly labeled dimensions for every wall, window, and floor area you plan to address.
Include ceiling heights, door widths, and the locations of outlets, switches, and vents that might affect décor placement. These details seem minor during planning but become crucial during installation when you’re deciding exactly where to position peel-and-stick elements.
Photograph your spaces from multiple angles and attach these images to your physical checklist or reference them digitally. Visual documentation helps when shopping, allowing you to envision how products might look in your actual space rather than relying solely on memory.
Creating a Room-by-Room Blueprint
For each room on your checklist, sketch a simple floor plan showing furniture placement and traffic patterns. This visual component helps you avoid decorating decisions that might look beautiful in isolation but create practical problems in daily living.
Mark focal points in each room—the first thing eyes naturally gravitate toward when entering. Your decorating efforts should enhance these focal points rather than compete with them, creating harmonious spaces that feel intentionally designed.
🔧 Installation Tools and Preparation
Even temporary décor requires proper installation for professional-looking results. Dedicate a checklist section to tools and supplies needed, ensuring you have everything on hand before starting your transformation to avoid frustrating mid-project store runs.
Basic tools include a level for straight installations, a smoothing tool or credit card for removing air bubbles, sharp scissors or a craft knife for precise cuts, measuring tape, and a pencil for light marking. These simple items dramatically improve installation quality.
Surface preparation products deserve their own checklist category. Removable décor adheres best to clean, smooth surfaces, so include cleaning supplies, possibly a primer designed for temporary applications, and any repair materials needed to address minor wall imperfections.
Safety and Protection Considerations
Add a safety section to your checklist, especially important if you’re using ladders for high installations or working with adhesives in enclosed spaces. Include ventilation requirements, protective equipment, and any specific manufacturer safety recommendations.
Consider furniture protection during your decorating process. Drop cloths, plastic sheeting, and painter’s tape protect your belongings from accidental damage during installation, preventing one improvement from causing problems elsewhere.
♻️ Sustainability and Removability Planning
Include a forward-thinking section on your checklist addressing how you’ll eventually remove and dispose of or repurpose your temporary décor. Sustainable decorating considers the full lifecycle of products, not just their initial installation.
Research removal techniques for each product before purchasing. Some removable items come off cleanly with minimal effort, while others require specific techniques or products for damage-free removal. Documenting this information prevents future frustration and potential security deposit losses.
Consider whether items can be reused in future homes or spaces. High-quality removable wallpaper, for instance, can often be carefully removed and reinstalled elsewhere, making it a more sustainable investment than cheaper alternatives that only work once.
📱 Digital Tools to Enhance Your Planning Process
While printable checklists provide tangible organization, digital tools can complement your planning process with visualization features and easy updates. Several apps allow you to photograph your space and virtually try different design elements before committing to purchases.
Room planning applications let you input measurements and experiment with layouts digitally, helping you visualize how removable décor pieces will work together. These tools prevent costly mistakes and boost confidence in your design decisions before spending money.
Pinterest boards referenced on your checklist create visual inspiration libraries organized by room or style element. Include QR codes on your printed checklist linking to these digital boards for seamless integration of physical planning and digital inspiration.
🎯 Execution Timeline and Project Management
Transform your checklist into an action plan by adding target completion dates for each phase of your decorating project. Realistic timelines prevent rushing, which often leads to installation mistakes and disappointing results that don’t reflect your vision.
Break larger projects into manageable chunks, perhaps tackling one room per weekend or focusing on one décor category across all rooms before moving to the next. This approach maintains momentum while preventing overwhelming exhaustion that could derail your entire transformation.
Build buffer time into your schedule for unexpected challenges, product delays, or simply needing to live with one phase before committing to the next. Decorating should enhance your life, not become a source of stress that dominates all your free time.
Celebrating Milestones Along the Way
Include celebration checkboxes on your list for completed rooms or finished phases. Acknowledging progress maintains enthusiasm throughout longer projects and helps you appreciate the transformation happening incrementally rather than fixating only on the final goal.
Photograph each completed space and compare it with your “before” images. These visual records document your accomplishment and provide valuable reference material for future decorating projects or helping friends undertake their own transformations.
💡 Troubleshooting Common Removable Décor Challenges
Every decorating project encounters unexpected issues, so include a troubleshooting section on your checklist with common problems and solutions. This preparation reduces stress when challenges arise, as you’ll already have researched potential fixes.
Adhesion problems top the list of removable décor challenges. If peel-and-stick products won’t stay put, the issue typically involves surface cleanliness, temperature during installation, or incompatible wall textures. Document solutions for each scenario so you’re never caught unprepared.
Bubbles and wrinkles in wallpaper or decals frustrate many DIY decorators. Your checklist should note that most can be smoothed out if addressed immediately, but prevention through proper technique beats correction. Include links to video tutorials demonstrating professional installation methods.
🌟 Final Touches That Elevate Your Transformation
The difference between a decorated space and a truly designed environment often lies in thoughtful finishing touches. Reserve a section of your checklist for these final elements that bring cohesion and polish to your removable décor transformation.
Textile layers add warmth and texture that hard surfaces alone cannot achieve. Include throw pillows, blankets, area rugs, and window treatments in complementary colors and patterns that tie together your removable wall and floor treatments into a unified design.
Personal touches transform generic décor into spaces that tell your story. Allocate checklist space for displaying cherished items, rotating seasonal accessories, and incorporating meaningful objects that make your decorated space uniquely yours rather than showroom-perfect but impersonal.
With your comprehensive printable checklist in hand, transforming your space with removable décor becomes an organized, enjoyable journey rather than a stressful undertaking. Each checked box represents progress toward a home that beautifully reflects your style while maintaining the flexibility modern life demands. Start planning today, and watch as your vision comes to life one manageable step at a time! 🏡