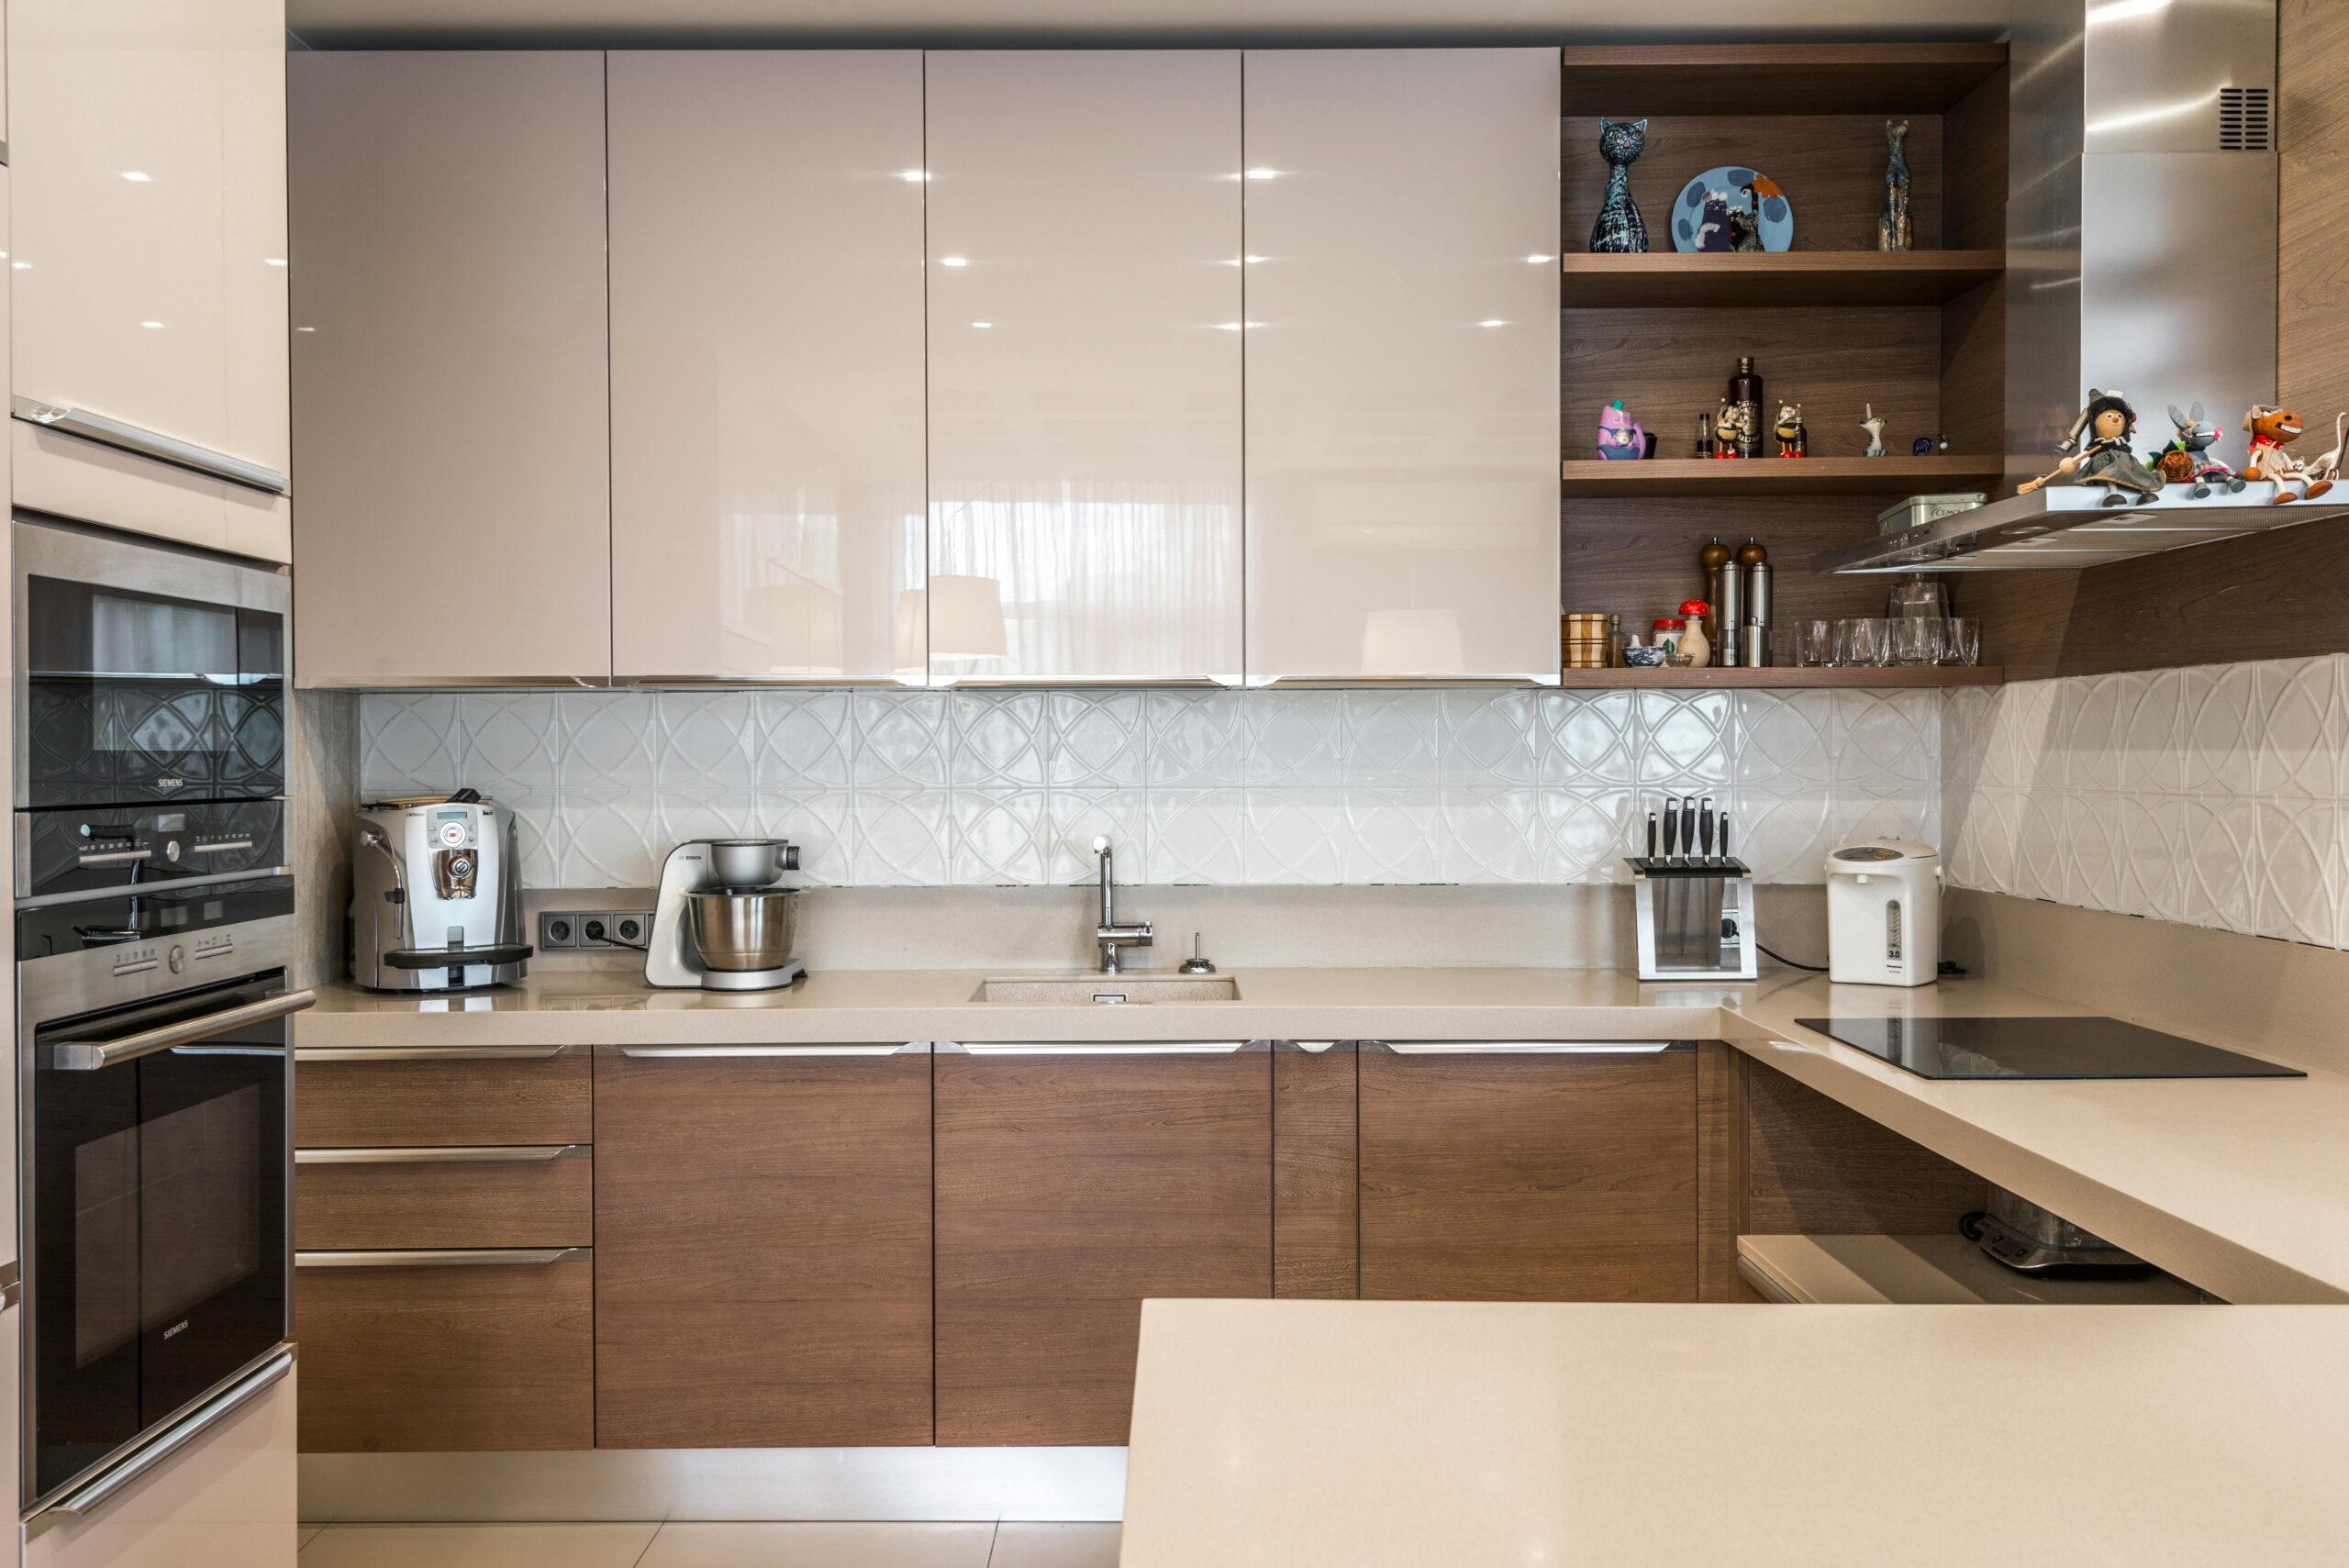
Tired of staring at the same old kitchen or bathroom walls? You’re not alone! A fresh backsplash can completely transform your space without breaking the bank or requiring professional installation.
Temporary backsplash solutions have revolutionized home décor, offering renters and homeowners alike the freedom to update their spaces with minimal commitment. Whether you’re looking to add personality to a bland rental kitchen or simply want to experiment with new styles before making permanent changes, these innovative products deliver stunning results in hours, not days. From peel-and-stick tiles to adhesive panels, the market is brimming with options that combine style, functionality, and affordability.
🎨 Why Temporary Backsplashes Are Taking Over Home Design
The rise of temporary backsplash solutions reflects a broader shift in how we approach interior design. Traditional tile installation requires significant investment in materials, labor, and time—not to mention the mess and disruption to your daily routine. Temporary alternatives eliminate these pain points while delivering comparable aesthetic appeal.
Renters particularly benefit from these solutions since they can’t make permanent modifications to their spaces. Peel-and-stick backsplashes adhere firmly to walls but remove cleanly when it’s time to move, ensuring you get your security deposit back. Homeowners appreciate the flexibility to update their décor seasonally or experiment with trends without long-term commitment.
Cost savings represent another major advantage. Professional tile installation can easily cost thousands of dollars when you factor in materials, labor, grouting, and sealing. Temporary backsplash products typically range from $10 to $50 per square foot of coverage, with installation requiring nothing more than a clean surface, measuring tape, and scissors or a utility knife.
Popular Types of Temporary Backsplash Materials
Understanding your options helps you select the perfect solution for your specific needs and aesthetic preferences. Each material type offers distinct advantages in terms of appearance, durability, and installation ease.
Peel-and-Stick Vinyl Tiles
These represent the most popular temporary backsplash option on the market. Made from durable vinyl with adhesive backing, they mimic the appearance of ceramic, glass, or natural stone tiles remarkably well. Modern printing technology has advanced to the point where distinguishing quality peel-and-stick tiles from real ceramic tiles becomes challenging from even a few feet away.
Installation couldn’t be simpler: peel off the backing paper and press the tile firmly against your clean, dry wall. Most products feature grid patterns on the backing to help with alignment. The adhesive forms a strong bond yet remains removable without damaging paint or drywall underneath.
Adhesive Backsplash Panels
For those seeking even faster installation, large adhesive panels cover more area with fewer seams. These rigid or semi-flexible sheets typically measure 18×24 inches or larger, allowing you to cover significant wall space in minutes. They come in numerous designs including subway tile patterns, geometric shapes, and natural stone looks.
The primary advantage of panels over individual tiles is installation speed. Covering a standard kitchen backsplash area might require positioning just 8-12 panels rather than hundreds of individual tiles. This also results in fewer seams, creating a more unified, seamless appearance.
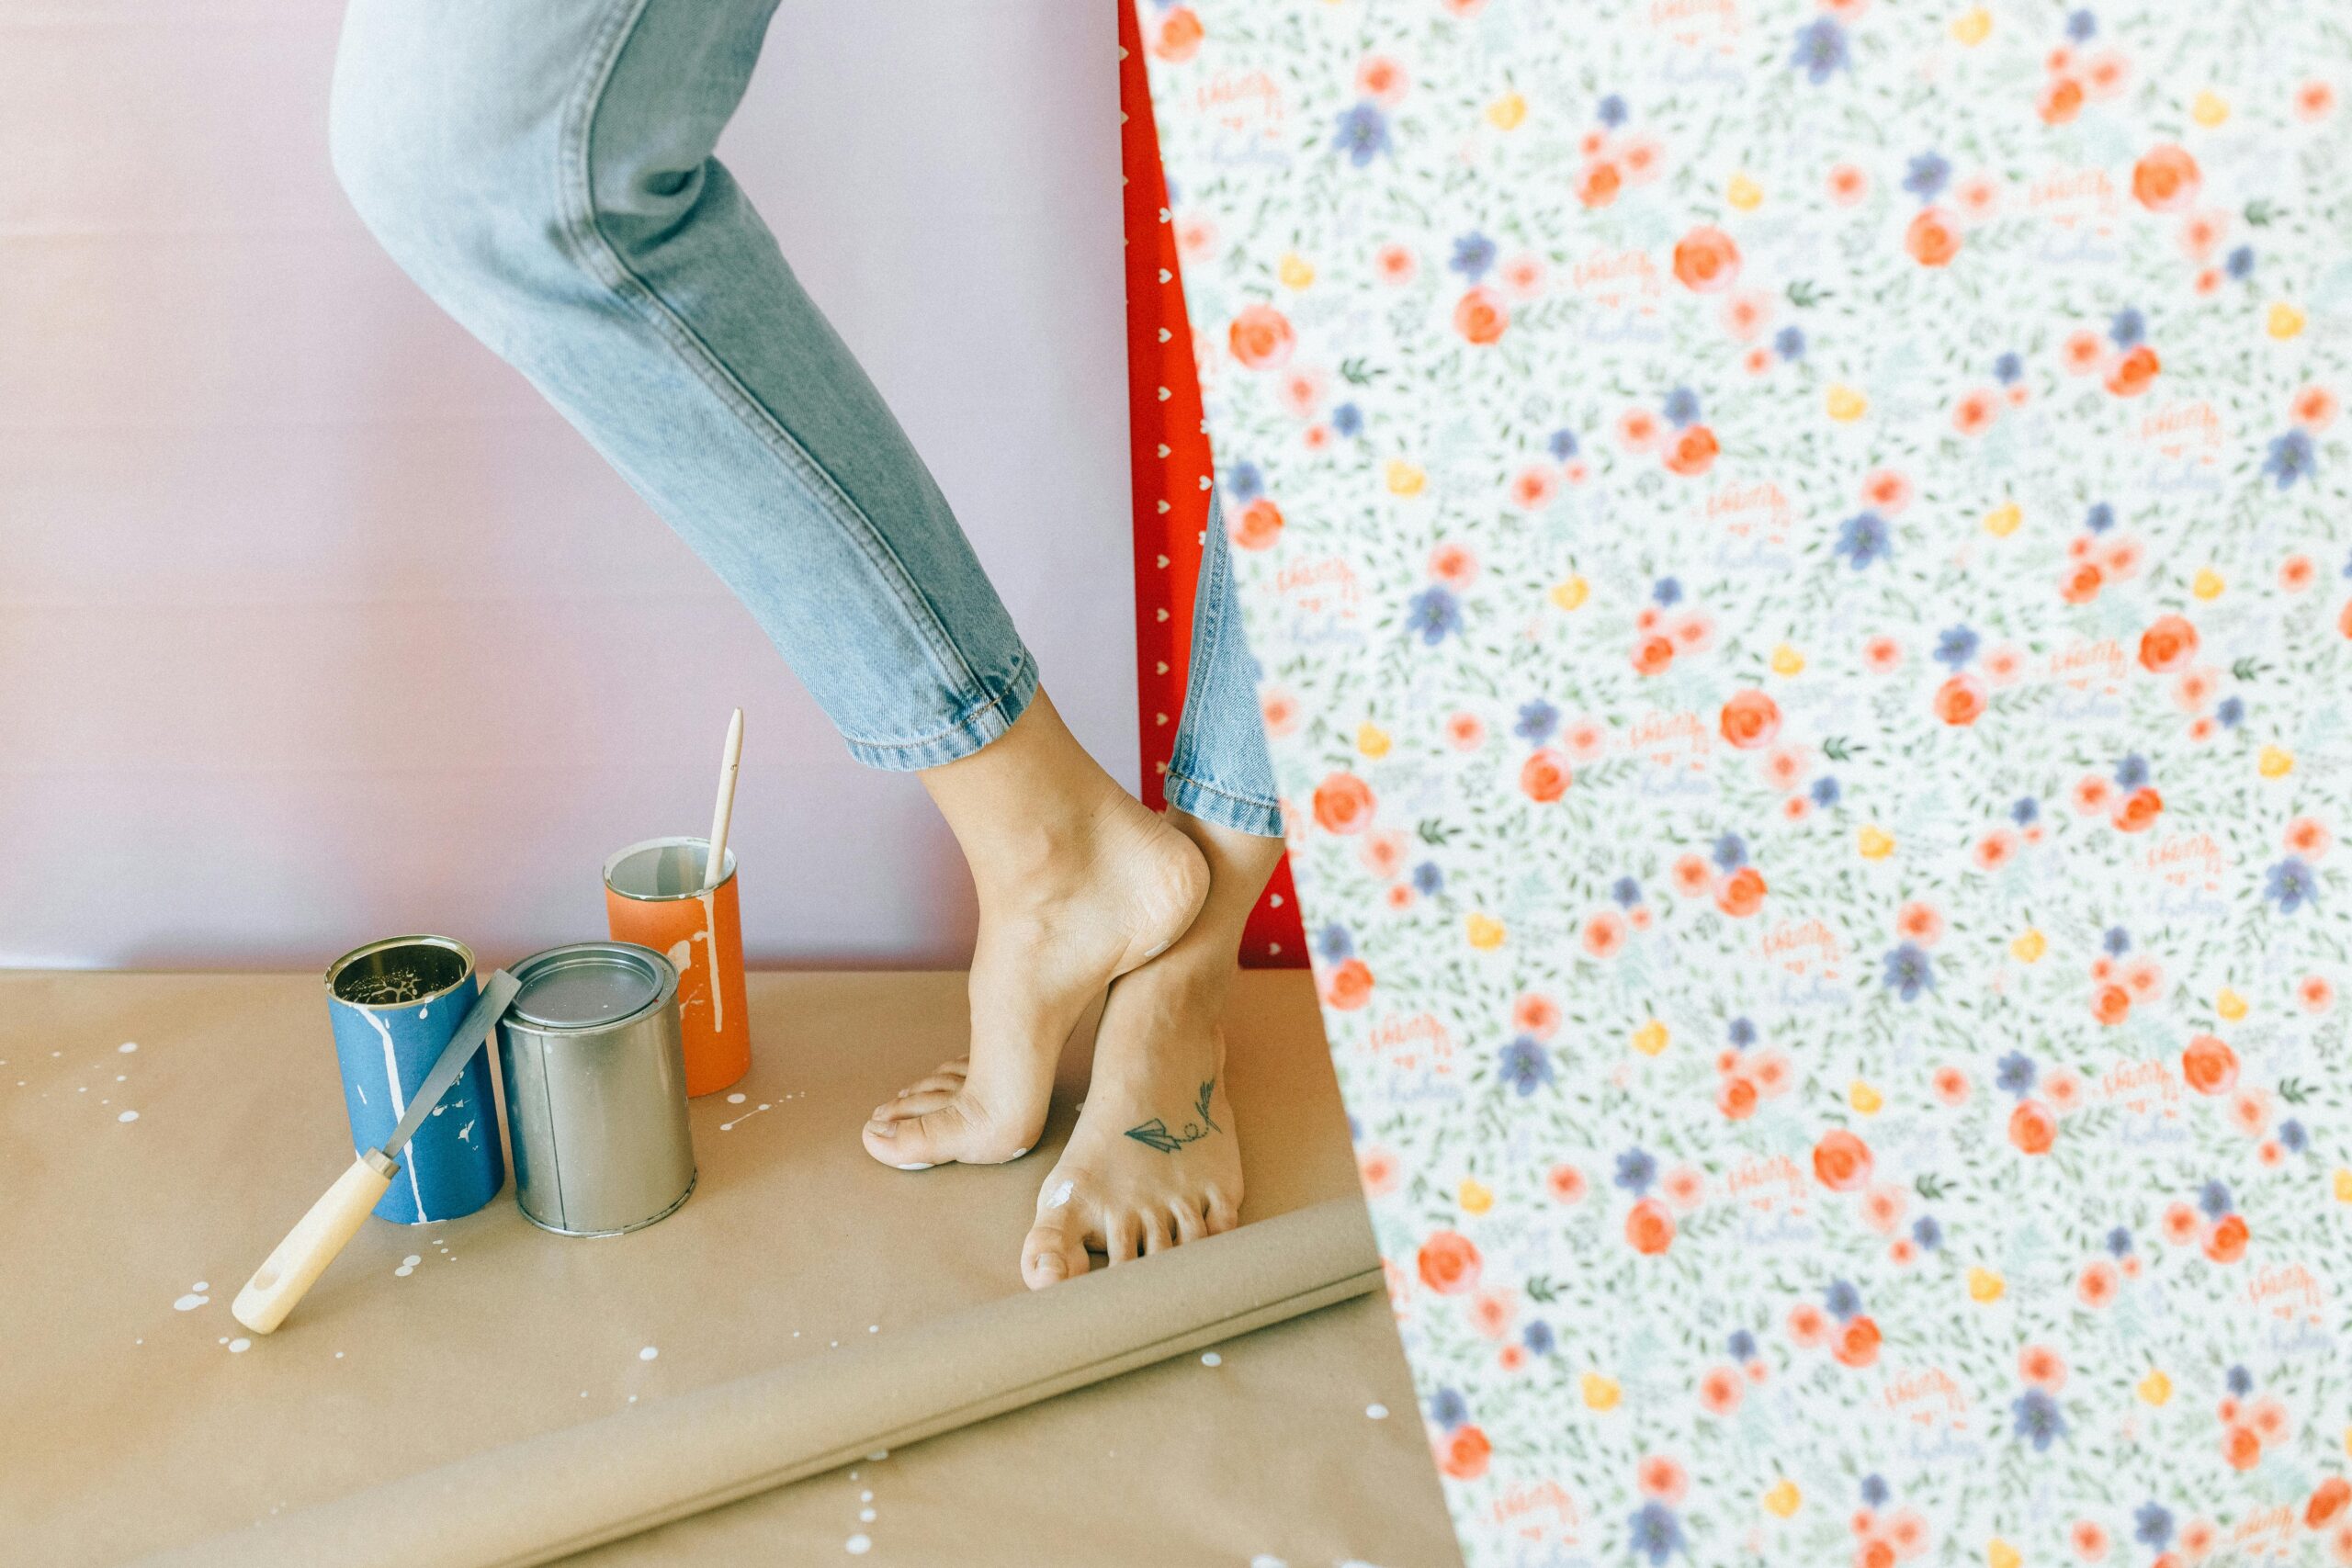
Removable Wallpaper Backsplashes
Don’t overlook removable wallpaper as a backsplash solution! Modern removable wallpapers feature waterproof or water-resistant coatings that make them suitable for kitchen and bathroom applications. The variety of available patterns and textures is virtually limitless—from classic damask to contemporary geometric designs.
Application requires careful measurement and smooth installation to avoid bubbles, but the process remains manageable for DIY enthusiasts. Many manufacturers now offer pre-pasted options that activate with water, simplifying the process even further.
✨ Design Ideas to Inspire Your Transformation
Selecting the right design elevates your space from merely updated to truly transformed. Consider these popular approaches when planning your temporary backsplash project.
Classic Subway Tile Look
Subway tiles never go out of style. Their clean, rectangular shape and traditional brick-pattern layout complement virtually any kitchen or bathroom aesthetic. White subway tiles create a bright, fresh appearance that makes spaces feel larger, while colored or glazed versions add personality without overwhelming the room.
Many peel-and-stick products perfectly replicate the beveled edges and glossy finish of authentic subway tiles. The dimensional quality of better products creates subtle shadows that enhance the realistic appearance.
Mediterranean-Inspired Patterns
Moroccan zellige, Spanish azulejos, and Portuguese ceramic tiles bring vibrant color and intricate patterns to your kitchen or bathroom. These designs work particularly well as accent walls or in small powder rooms where bold patterns won’t overwhelm the space.
Temporary backsplash products featuring Mediterranean designs often incorporate rich blues, sunny yellows, terracotta reds, and crisp whites. The geometric patterns add visual interest while maintaining a timeless appeal that transcends passing trends.
Natural Stone and Marble Effects
Create a luxurious spa-like atmosphere with marble, granite, or natural stone looks. High-quality vinyl products capture the veining, color variation, and depth of authentic stone at a fraction of the cost. Carrara marble patterns remain particularly popular for creating elegant, sophisticated spaces.
Combining different stone effects can add dimension—consider using a lighter marble for the main backsplash area with darker granite accents to define specific zones.
Modern Geometric and Hexagon Tiles
Geometric shapes like hexagons, diamonds, and triangles have exploded in popularity. These contemporary patterns add visual dynamism to modern and transitional spaces. Black and white geometric designs create striking contrast, while monochromatic schemes maintain sophistication.
Hexagon tiles, in particular, offer a fresh alternative to traditional square or rectangular formats. The honeycomb pattern adds organic interest while maintaining clean, modern lines.
📏 Step-by-Step Installation Guide
Proper installation ensures your temporary backsplash looks professional and lasts as long as you need it. Follow these steps for optimal results.
Preparation Is Key
Surface preparation determines installation success more than any other factor. Start by thoroughly cleaning your wall with a degreasing cleaner—kitchen walls accumulate cooking oils and grease that prevent proper adhesion. Rinse well and allow the surface to dry completely.
Inspect the wall for damage. Fill any holes or significant imperfections with spackle, sand smooth, and allow to dry. While temporary backsplashes can hide minor imperfections, major irregularities will show through and potentially prevent proper adhesion.
Remove outlet covers and switch plates. You’ll reinstall these after completing the backsplash, ensuring a clean, finished appearance.
Measuring and Planning
Measure your backsplash area carefully, accounting for outlets, switches, and appliances. Sketch a simple diagram showing dimensions and obstacles. This planning phase helps you determine how many tiles or panels you’ll need and where cuts will be necessary.
Most professionals recommend ordering 10-15% extra material to account for cutting waste and future repairs. Starting from the center of your backsplash area and working outward ensures balanced, symmetrical placement.
Installation Process
Begin by marking a level horizontal line as your starting guide—even if your countertop appears level, it probably isn’t perfectly straight. Using this guide ensures your tile rows remain level throughout the installation.
For peel-and-stick tiles, remove only 2-3 inches of backing paper initially. Position the tile precisely, then gradually peel away the remaining backing while pressing firmly to secure it. This technique prevents the tile from sticking prematurely in the wrong position.
Use a smoothing tool or clean cloth to press out air bubbles as you go. Work from the center of each tile outward toward the edges. For stubborn bubbles, gently lift the affected area and reapply with firmer pressure.
Cut tiles to fit around outlets, edges, and corners using sharp scissors or a utility knife with a fresh blade. Measure twice, cut once—precision here significantly impacts the final appearance.
💡 Maintenance and Longevity Tips
Proper care extends the life and appearance of your temporary backsplash significantly. These products are designed to withstand normal kitchen and bathroom conditions, but some attention helps them look their best.
Daily Cleaning
Wipe down your backsplash regularly with a damp cloth or sponge. Most temporary backsplash materials tolerate gentle all-purpose cleaners, though you should avoid abrasive scrubbers that might damage the surface or printed design.
In kitchens, address grease splatters and food spills promptly. While quality products resist staining, allowing substances to sit for extended periods makes cleaning more difficult and may cause discoloration over time.
Dealing with Steam and Moisture
Bathroom installations face unique challenges from steam and moisture. Ensure adequate ventilation by running exhaust fans during and after showers. While many products claim to be waterproof, constant exposure to moisture can eventually compromise adhesion, especially along edges.
If you notice edges beginning to lift, press them firmly back into place while the wall is clean and dry. A small amount of additional adhesive applied with a cotton swab can reinforce problem areas.
Expected Lifespan
Quality temporary backsplashes typically last 2-5 years with proper care and normal use. Factors affecting longevity include installation quality, surface preparation, environmental conditions, and cleaning practices. Heavy use areas like directly behind cooktops may show wear sooner than sections receiving less exposure.
Cost Comparison: Temporary vs. Permanent Solutions
Understanding the full cost implications helps you make informed decisions about whether temporary solutions meet your needs and budget.
| Factor | Temporary Backsplash | Traditional Tile |
|---|---|---|
| Material Cost (per sq ft) | $10-$50 | $5-$100+ |
| Installation Labor | DIY (free) | $400-$2,000+ |
| Installation Time | 2-4 hours | 1-3 days |
| Removal Cost | DIY (free) | $200-$800 |
| Commitment Level | Temporary, easily changed | Permanent, expensive to change |
| Renter-Friendly | Yes | Usually not permitted |
While permanent tile installations may offer superior durability for long-term homeowners, temporary solutions provide unmatched flexibility and accessibility. The total cost for a typical kitchen backsplash using temporary materials ranges from $150-$500, compared to $1,500-$5,000+ for professional tile installation.
🛠️ Common Mistakes to Avoid
Learning from others’ experiences helps you sidestep common pitfalls that compromise results or create frustration during your project.
Skipping Surface Preparation
The single most common mistake is rushing past or inadequately completing surface preparation. Dirt, grease, dust, and moisture all prevent proper adhesion. Taking an extra 30 minutes to thoroughly clean and dry your surface prevents hours of frustration with tiles that won’t stick properly or fall off prematurely.
Not Accounting for Pattern Matching
Many decorative temporary backsplashes feature patterns that must align properly between tiles. Failing to plan pattern flow results in mismatched designs that look amateur. Before adhering anything permanently, dry-fit several tiles to understand how patterns connect.
Applying Too Much Pressure Initially
While firm pressure is necessary during installation, pressing too hard before properly positioning tiles causes them to stick in the wrong place. Remember that peel-and-stick products bond more strongly the more you press them—position first with light pressure, verify alignment, then apply firm pressure to complete adhesion.
Ignoring Seam Placement
Strategic seam placement significantly impacts the finished appearance. Avoid placing seams in highly visible or focal areas. Plan installation so that full tiles occupy the most prominent spaces, with cut tiles and seams relegated to edges and corners where they’ll be less noticeable.
Special Considerations for Renters
Renters face unique concerns when updating their spaces. Temporary backsplashes offer transformative potential without jeopardizing security deposits or lease agreements.
Before beginning any installation, review your lease agreement and consider photographing the original wall condition. Most landlords appreciate improvements that aren’t permanent, but communication prevents misunderstandings. Some renters even negotiate lease terms by offering to leave installed improvements in place.
When removal time comes, work slowly and carefully. Gently peel tiles at a 45-degree angle, taking care not to pull off paint. If adhesive residue remains, remove it with rubbing alcohol or adhesive remover, then clean thoroughly. The wall should return to its original condition with no visible traces of your temporary backsplash.
Enhancing Results with Accessories and Details
Small finishing touches elevate your temporary backsplash from good to exceptional. Consider these enhancement strategies.
Edge Trim and Borders
Many manufacturers offer coordinating edge trim pieces that create finished borders and transitions. These accessories provide a polished, professional appearance while protecting edges from moisture infiltration that could compromise adhesion.
Complementary Décor Elements
Coordinate your new backsplash with updated hardware, faucets, or lighting fixtures. Matching metal finishes—such as matte black, brushed nickel, or brass—creates cohesive design that makes the entire space feel intentionally curated rather than merely updated.
Strategic Lighting
Under-cabinet lighting highlights your beautiful new backsplash while adding functionality to workspace areas. LED strip lights install easily and draw minimal power while creating ambiance and improving task lighting. The interplay of light and shadow adds dimension to textured backsplash materials.
🌟 Real-World Success Stories
Hearing how others have transformed their spaces with temporary backsplashes provides inspiration and confidence for your own project. Countless homeowners and renters share their experiences online, demonstrating the remarkable potential of these products.
One apartment dweller transformed her dated, builder-grade kitchen with white subway tile peel-and-stick backsplash for under $200. The bright, clean look completely modernized the space and made it feel twice as large. When she moved two years later, the tiles removed cleanly in under an hour, returning the wall to its original condition.
Another homeowner used Moroccan-pattern adhesive panels to create a stunning accent wall in her powder room. The bold design became an instant conversation piece, and guests consistently assumed the installation was permanent tile work. Total project time was just three hours from start to finish.
Making Your Decision: Is Temporary Right for You?
Temporary backsplash solutions excel in specific situations while permanent installations better serve other needs. Consider these factors when deciding which approach suits your circumstances.
Choose temporary solutions if you’re renting, want the flexibility to update décor frequently, have a limited budget, lack DIY skills for traditional tile installation, or simply want to experiment with styles before committing permanently. The low financial and time investment makes temporary backsplashes ideal for these scenarios.
Permanent tile installations make more sense if you’re a long-term homeowner planning to stay in your home for many years, require maximum durability in heavy-use areas, want to add resale value to your property, or strongly prefer the authentic look and feel of genuine tile materials.
Many homeowners find that combining approaches works best—using temporary solutions in rental properties or frequently updated spaces while choosing permanent tile for forever homes and high-traffic areas.
Taking the First Step Toward Transformation
The barrier to entry for temporary backsplash projects is remarkably low. With modest investment and just a weekend afternoon, you can completely transform the look and feel of your kitchen or bathroom. The reversible nature of these installations removes the fear of making wrong choices—if you don’t love the result, you can simply try something different!
Start by browsing available products online or at home improvement stores. Order samples when possible to see colors and textures in person under your home’s lighting conditions. Involve family members in the selection process—everyone will appreciate the updated space more when they’ve contributed to design decisions.
Gather your supplies, set aside a few uninterrupted hours, and dive in. The satisfaction of completing this manageable project yourself, without contractors or lengthy disruption, provides rewards beyond the beautiful finished product. You’ll gain confidence in your DIY abilities while saving substantial money and creating a space that truly reflects your personal style.
Your kitchen or bathroom transformation awaits—temporary backsplash solutions put professional-looking results within reach for everyone, regardless of skill level, budget, or rental restrictions. The question isn’t whether you can achieve stunning results, but rather which amazing design you’ll choose first! 🏡✨